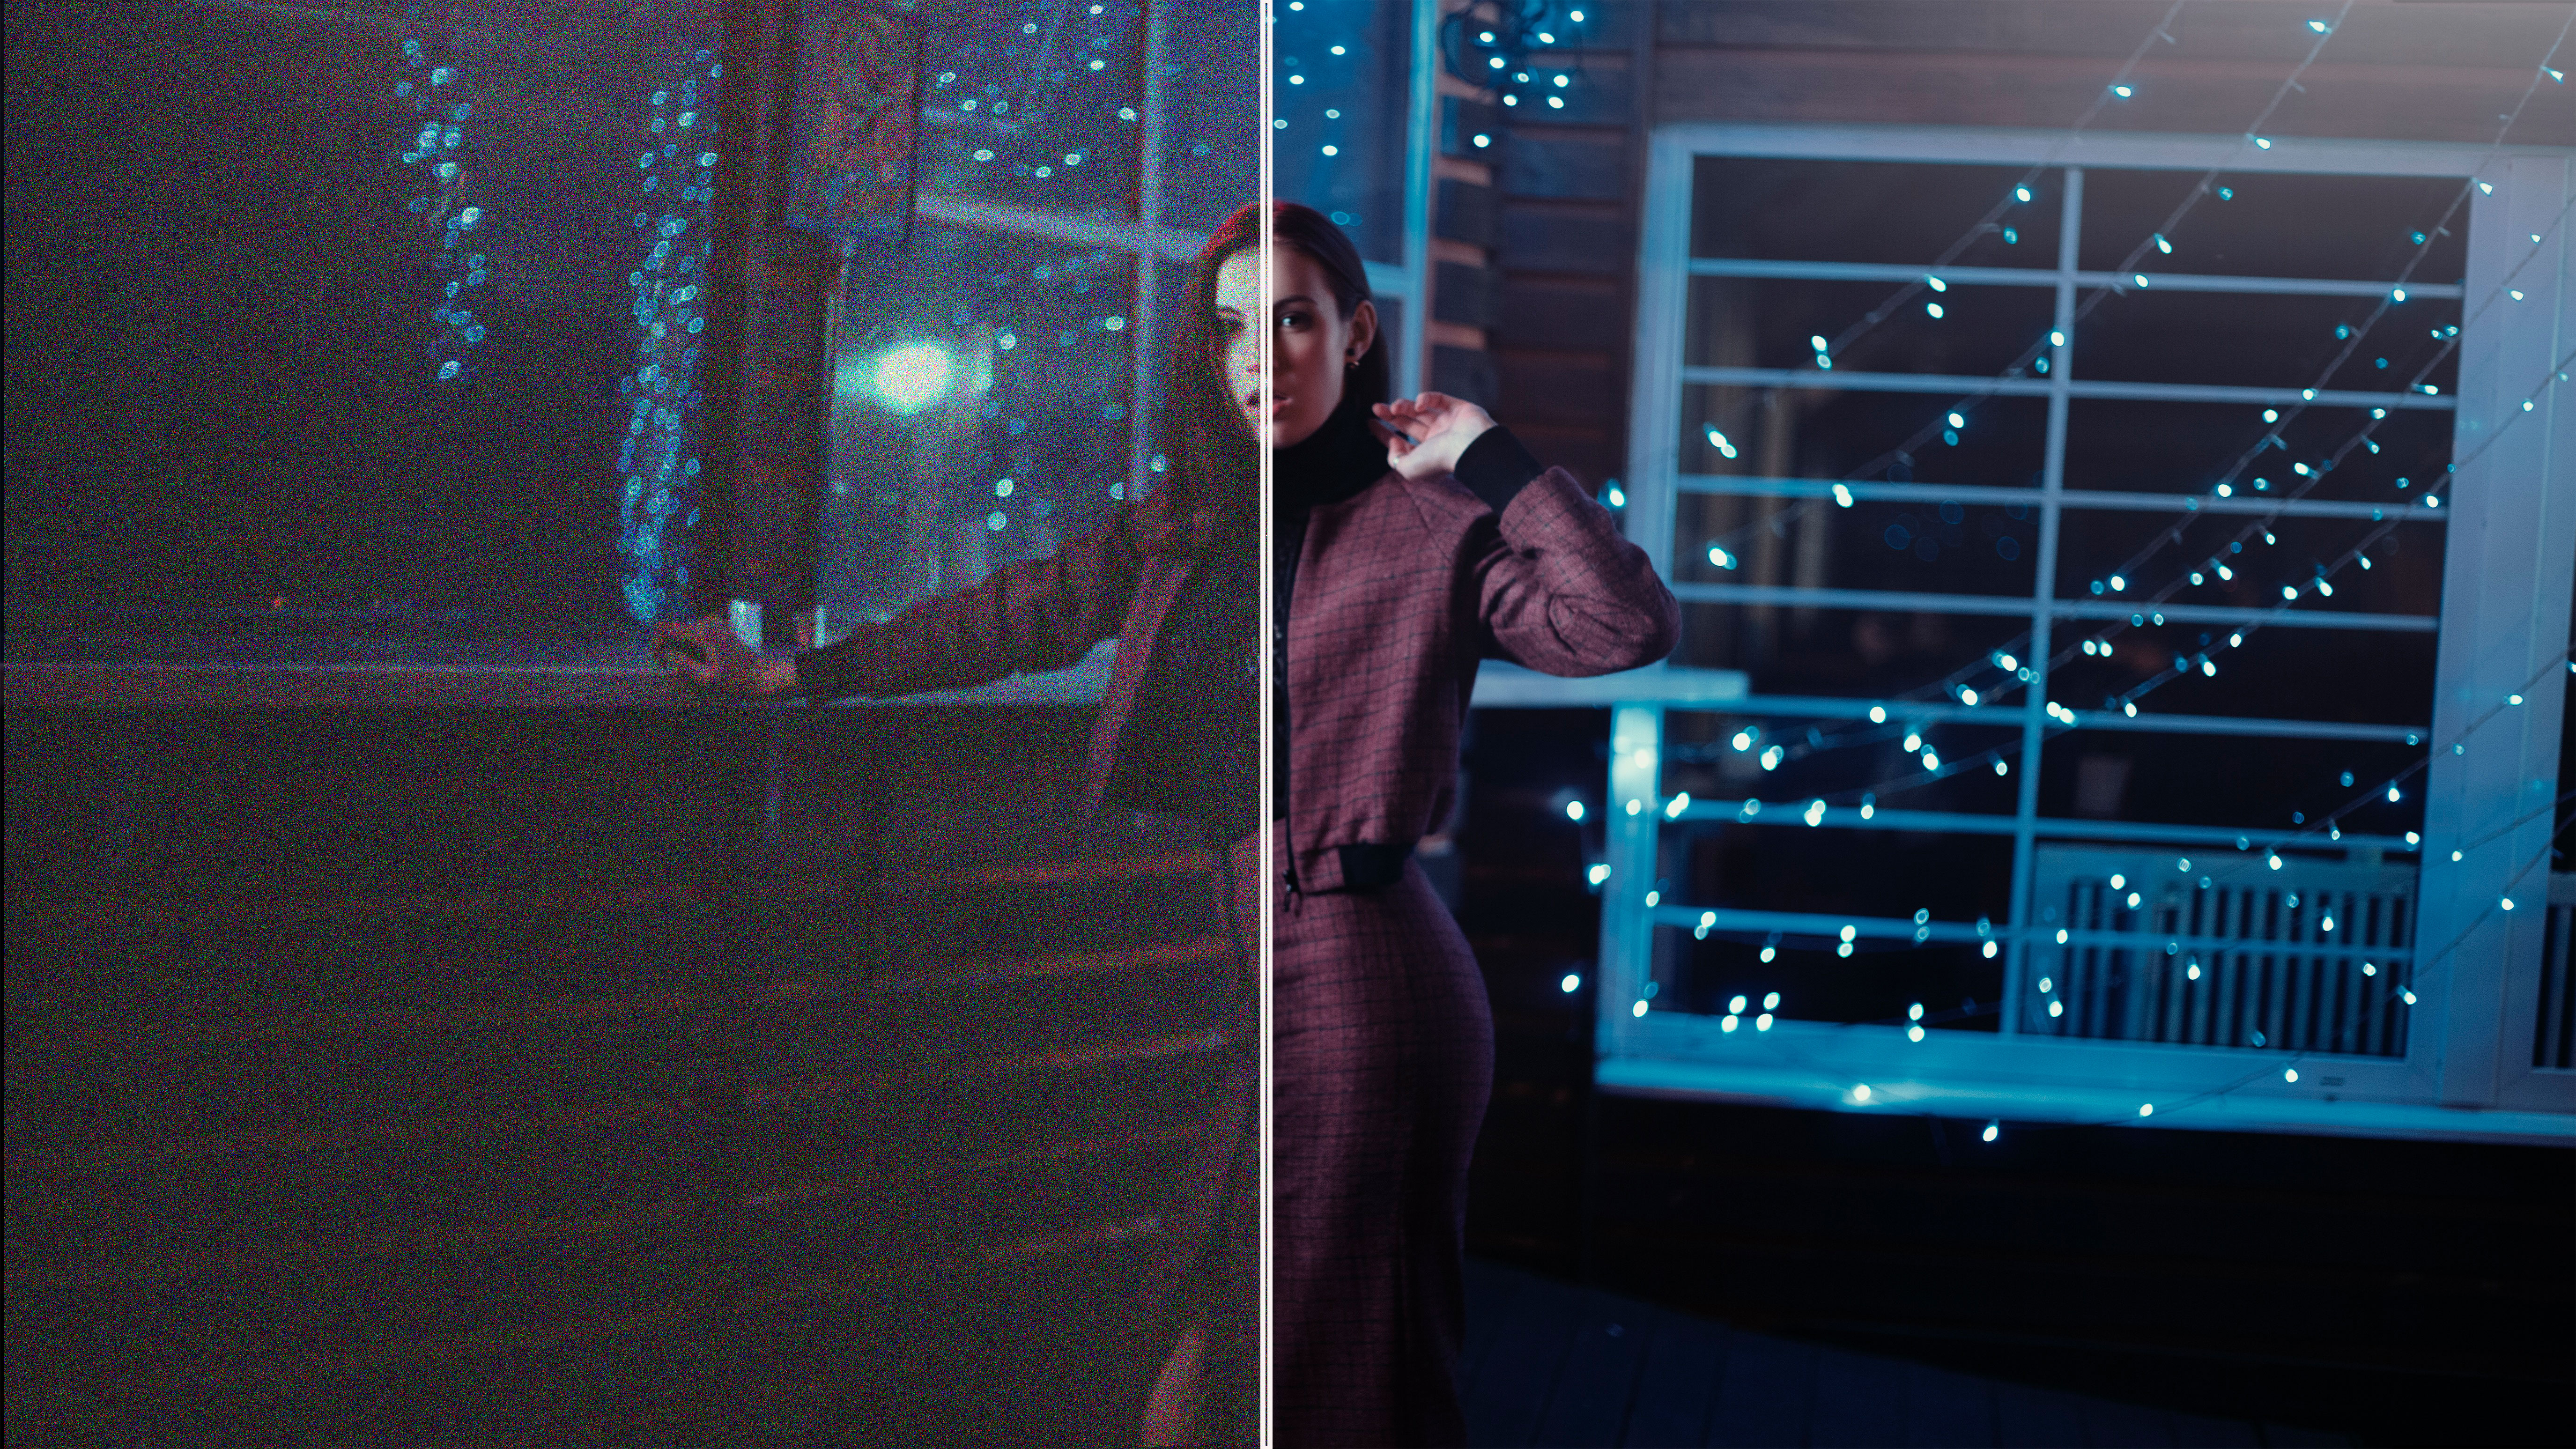
When the camera sensor needs to make up for the lack of light, grain is produced. While this is a popular style of photography, it isn't always appropriate for professional portfolios. Grain can induce an image to lose focus and become unfocused, resulting in a blurry image. It's vital to aim for an image to be without grain. You have the opportunity to reduce grain in Lightroom later in post-production, especially for films.
How do I fix grainy photos in Lightroom?
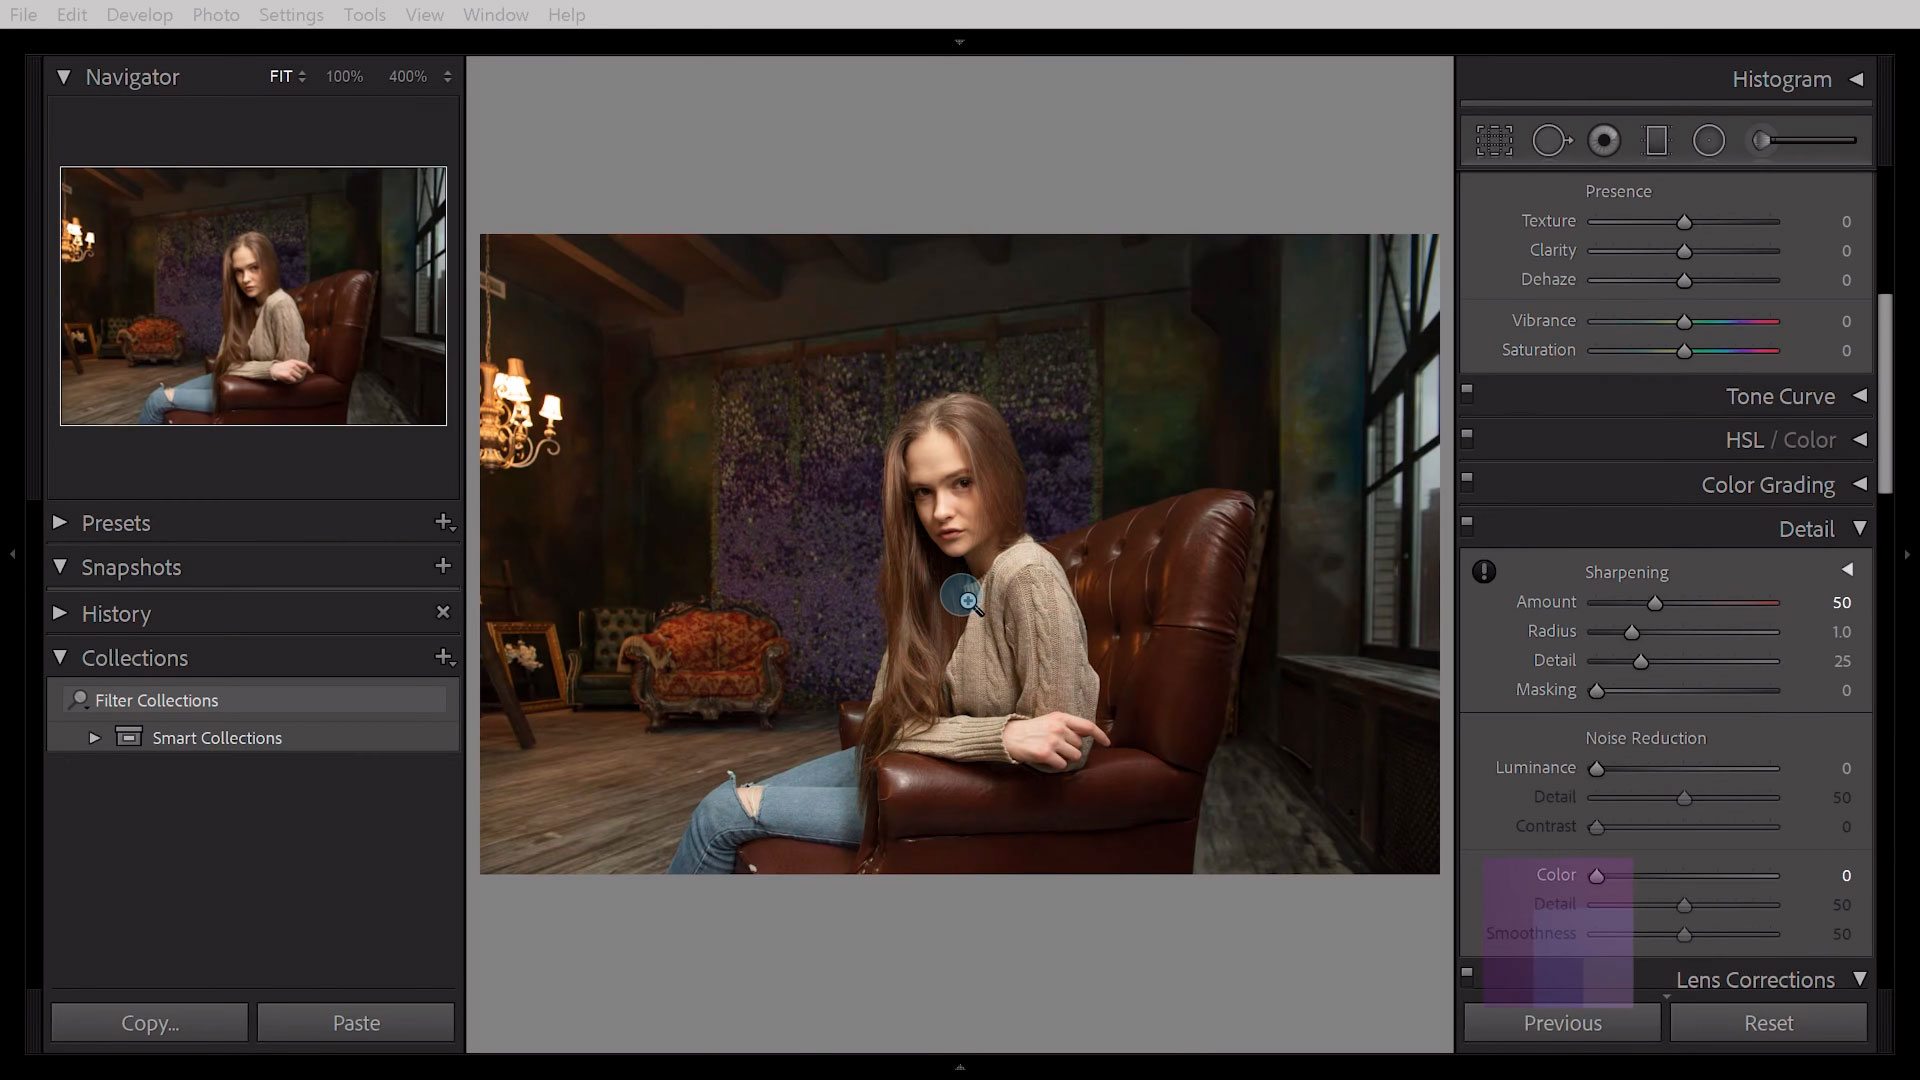
When you want to fix grainy photos in Lightroom, the first step is to import your photo and go to the Develop tab. Go to the left toolbar and use the navigator tool to zoom in on a 1:1 ratio. Determine the form of grain you're dealing with when your image is open and zoomed in. Standard noise causes your image to appear grainy and out of focus. The grain in a photograph can sometimes resemble television static. Luckily, with the advent of technology, you can make a photo less grainy in Lightroom.
How to take grain out of photos in Lightroom Classic?
Let's look at a full guide on how you can reduce grain in Lightroom Classic.
- Upload your photo.
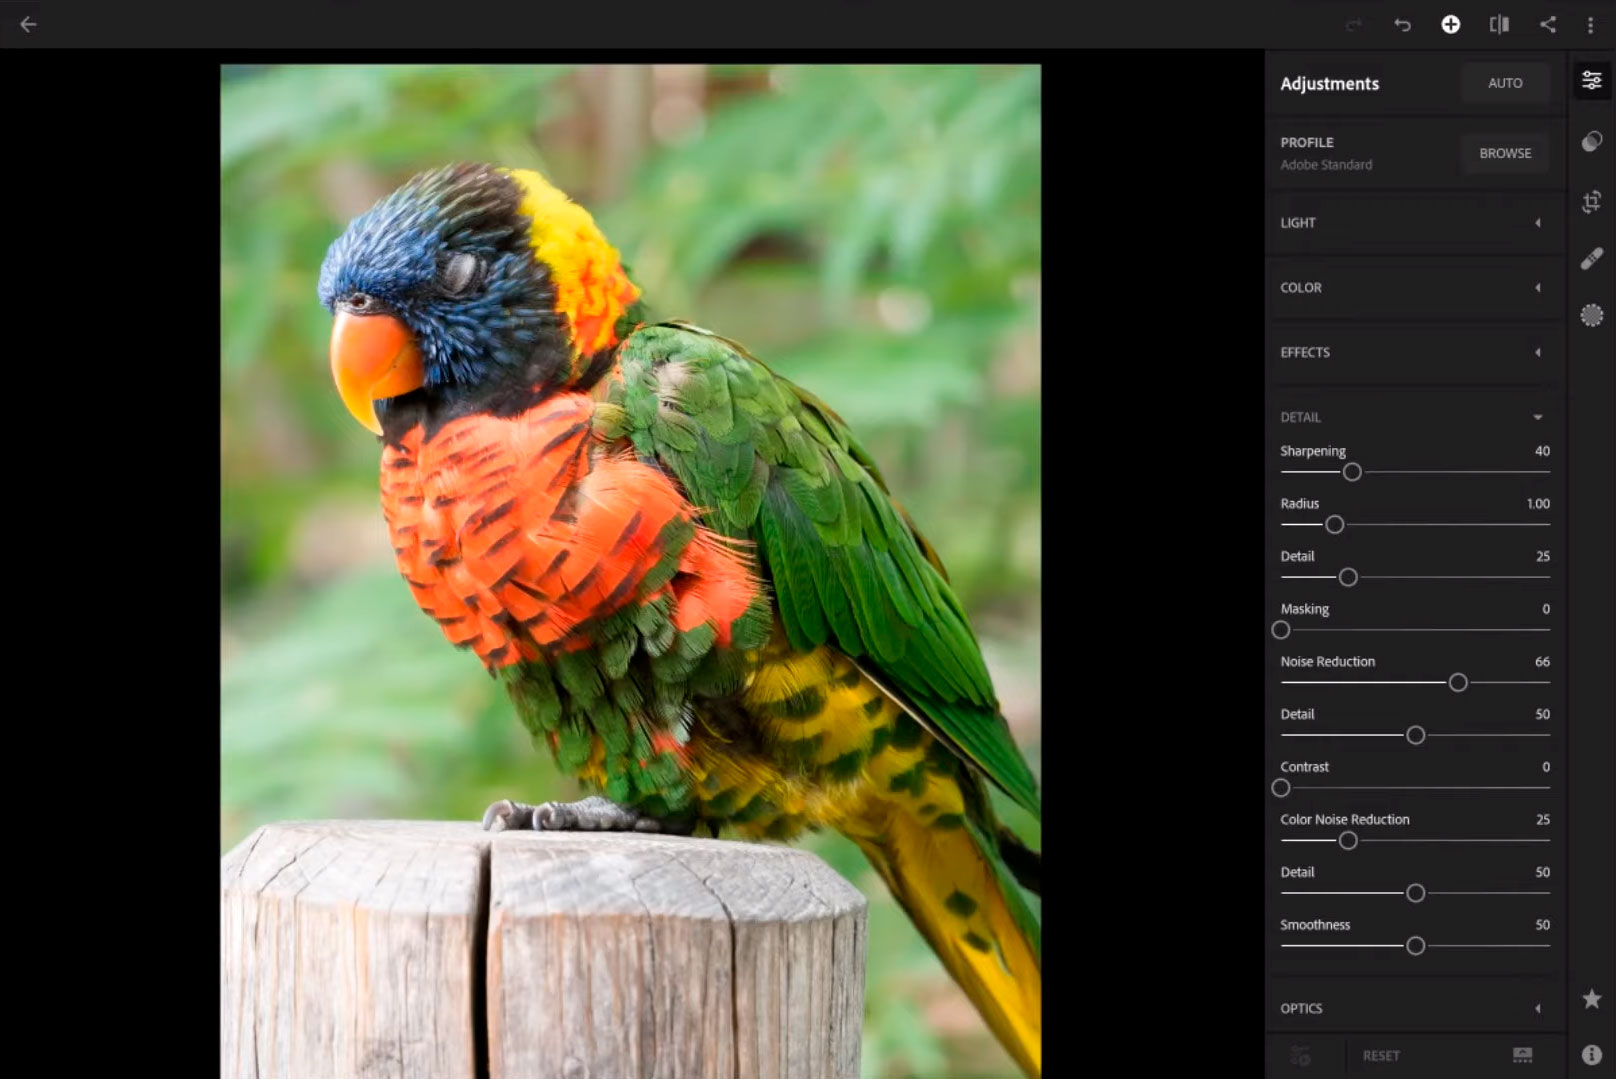
- Open the Detail panel - To remove noise from a photo, enter the Detail panel in the Develop module and adjust the brightness and color noise sliders. Lightroom performs color noise reduction to RAW photographs automatically during the import phase.
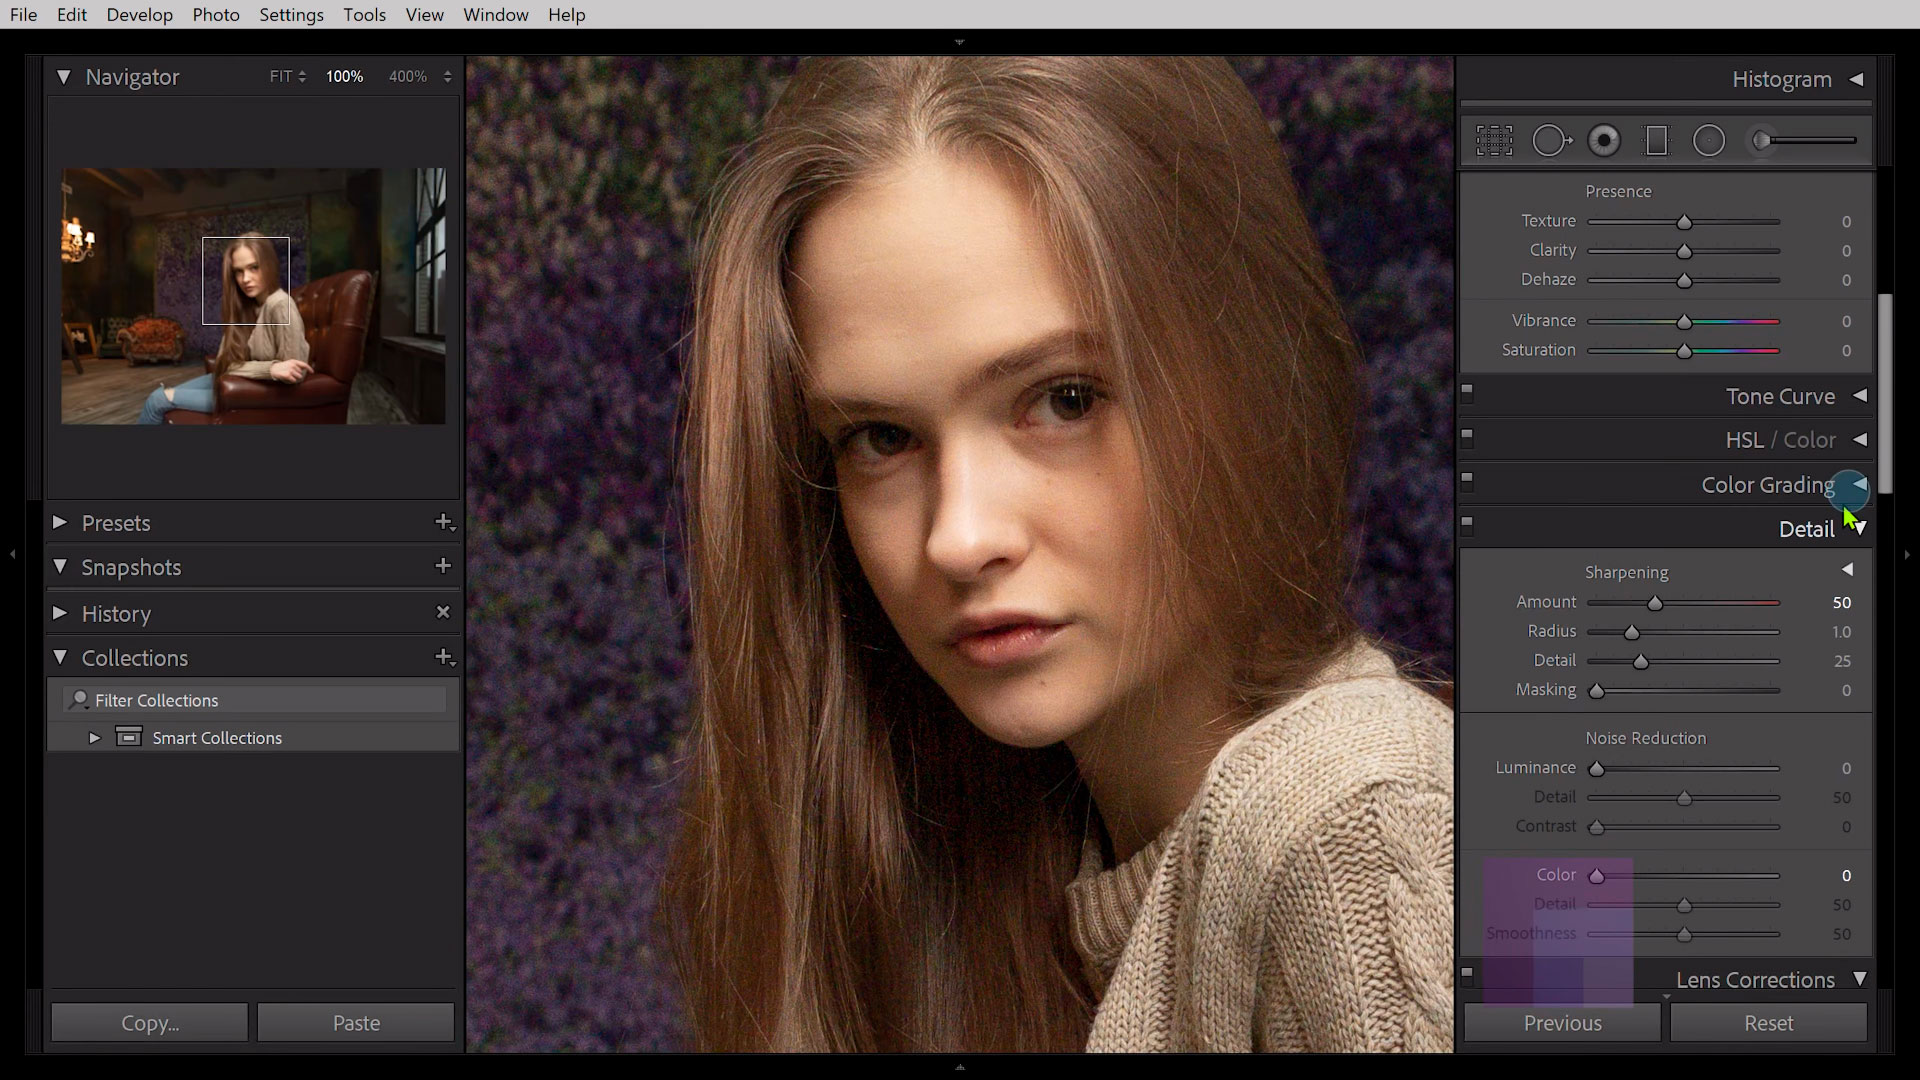
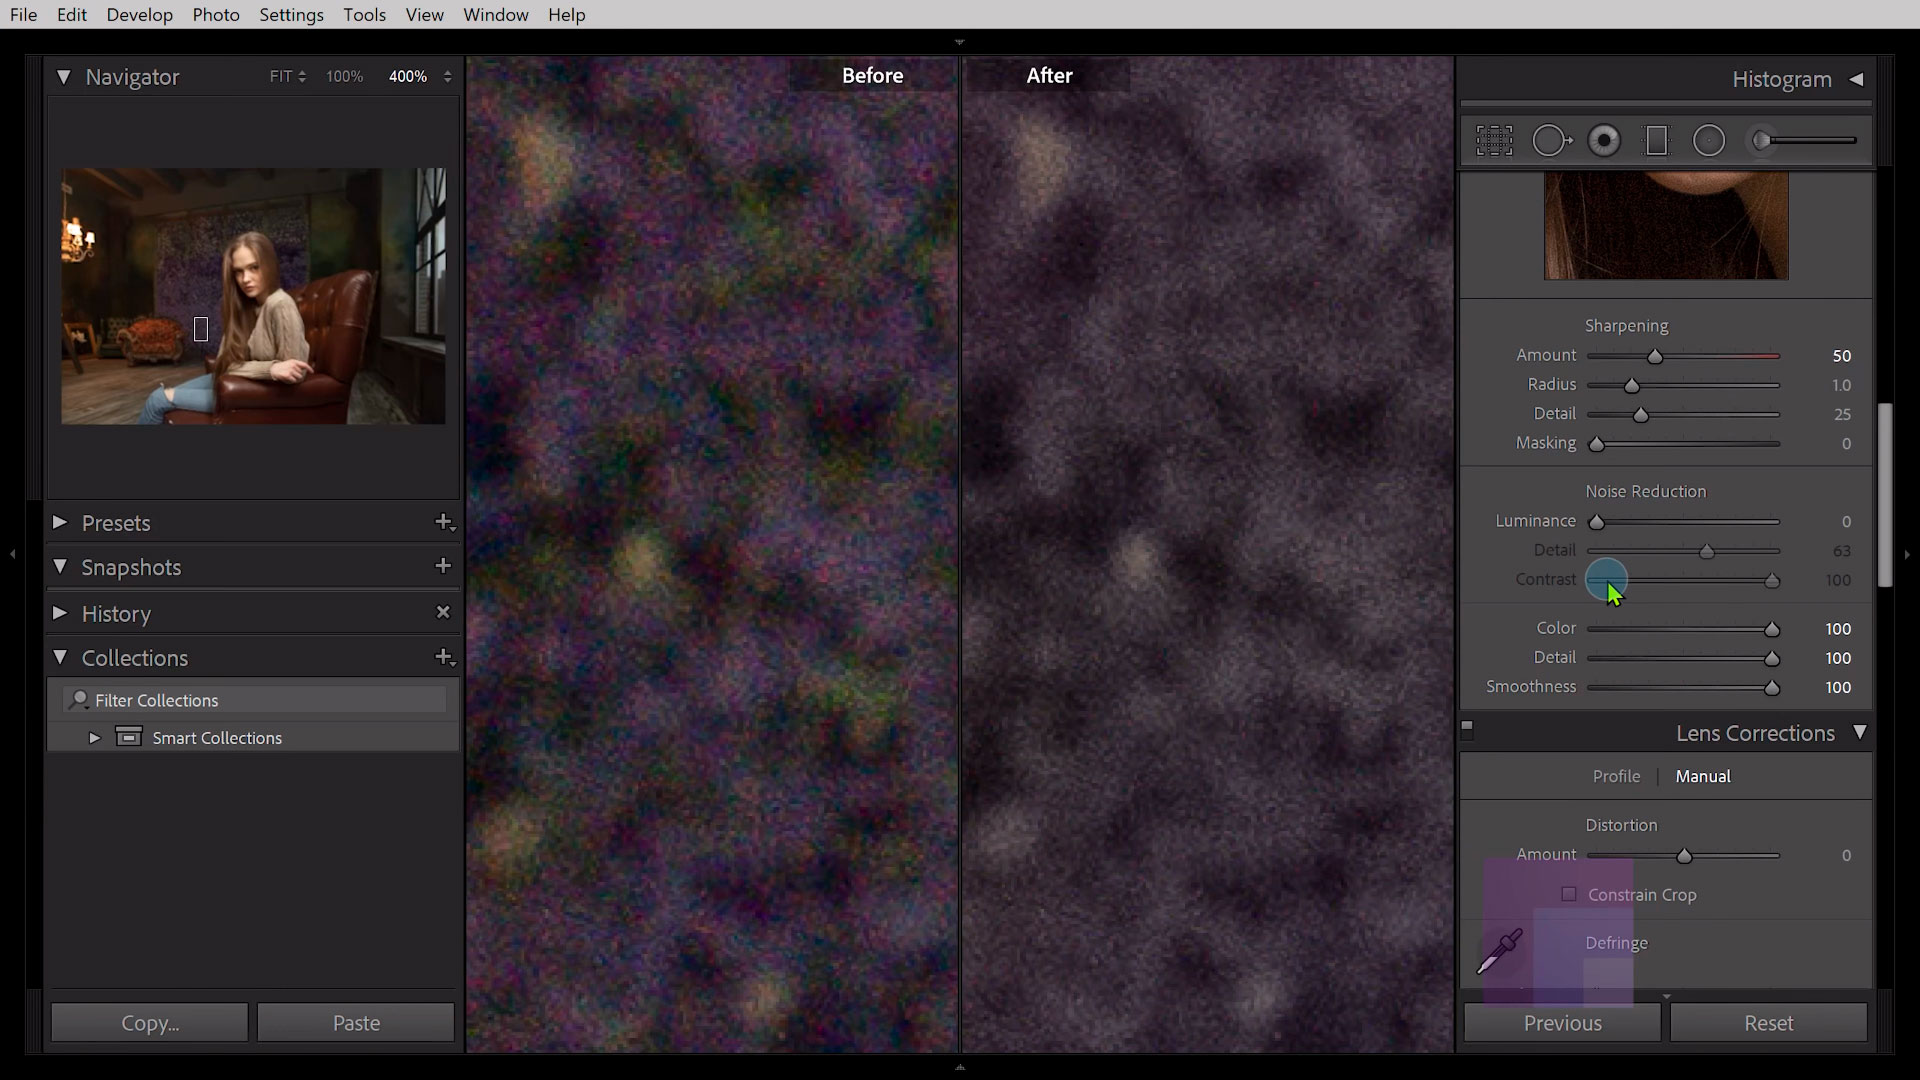
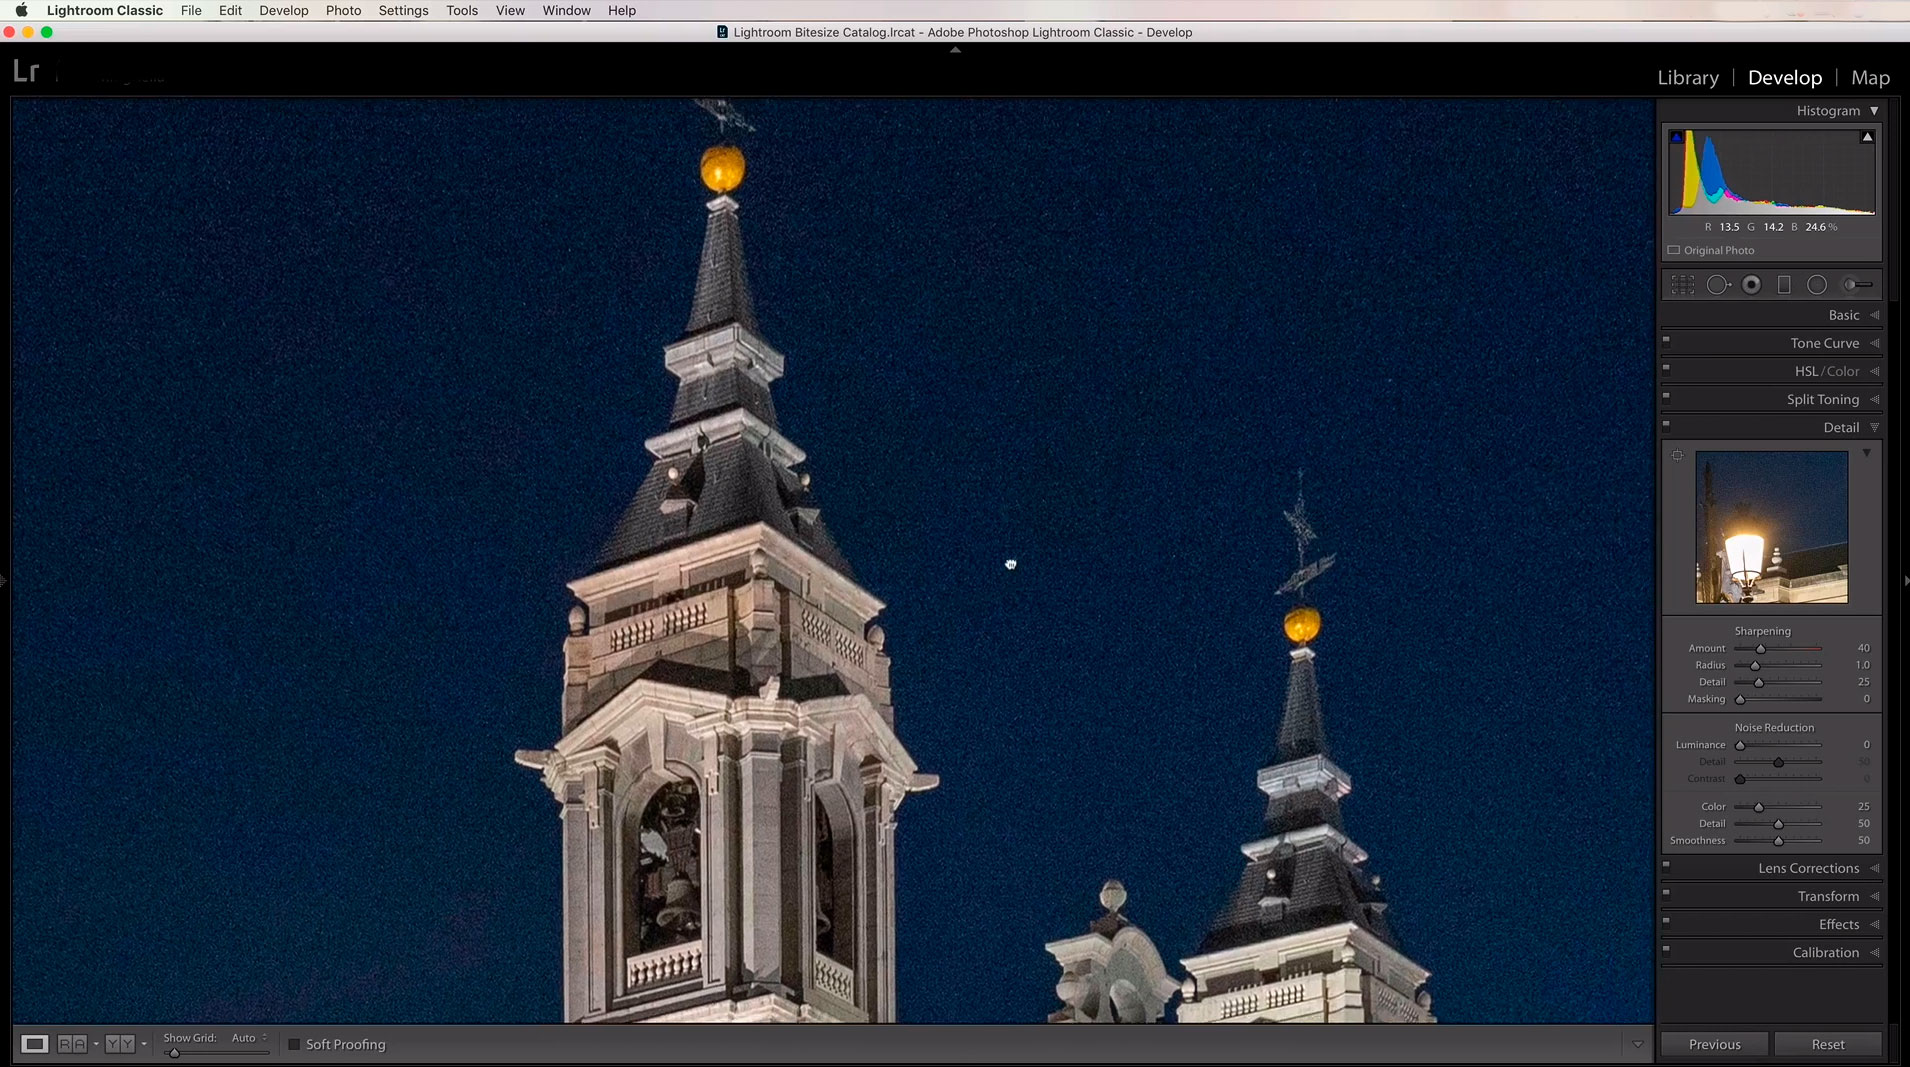
- Identify the source of the noise - Subsequently zoom in to 100% or more, you'll be able to examine your image more closely. The Luminance slider will fix grains in Lightroom and have a bigger impact if there are many grains in the picture.
- Adjust the appropriate sliders - Right-click the brightness slider and drag it to the right. Attempt to get the noise down to the desired level, but don't go too far. After all, the more noise reduction you apply, the less detail you'll get.
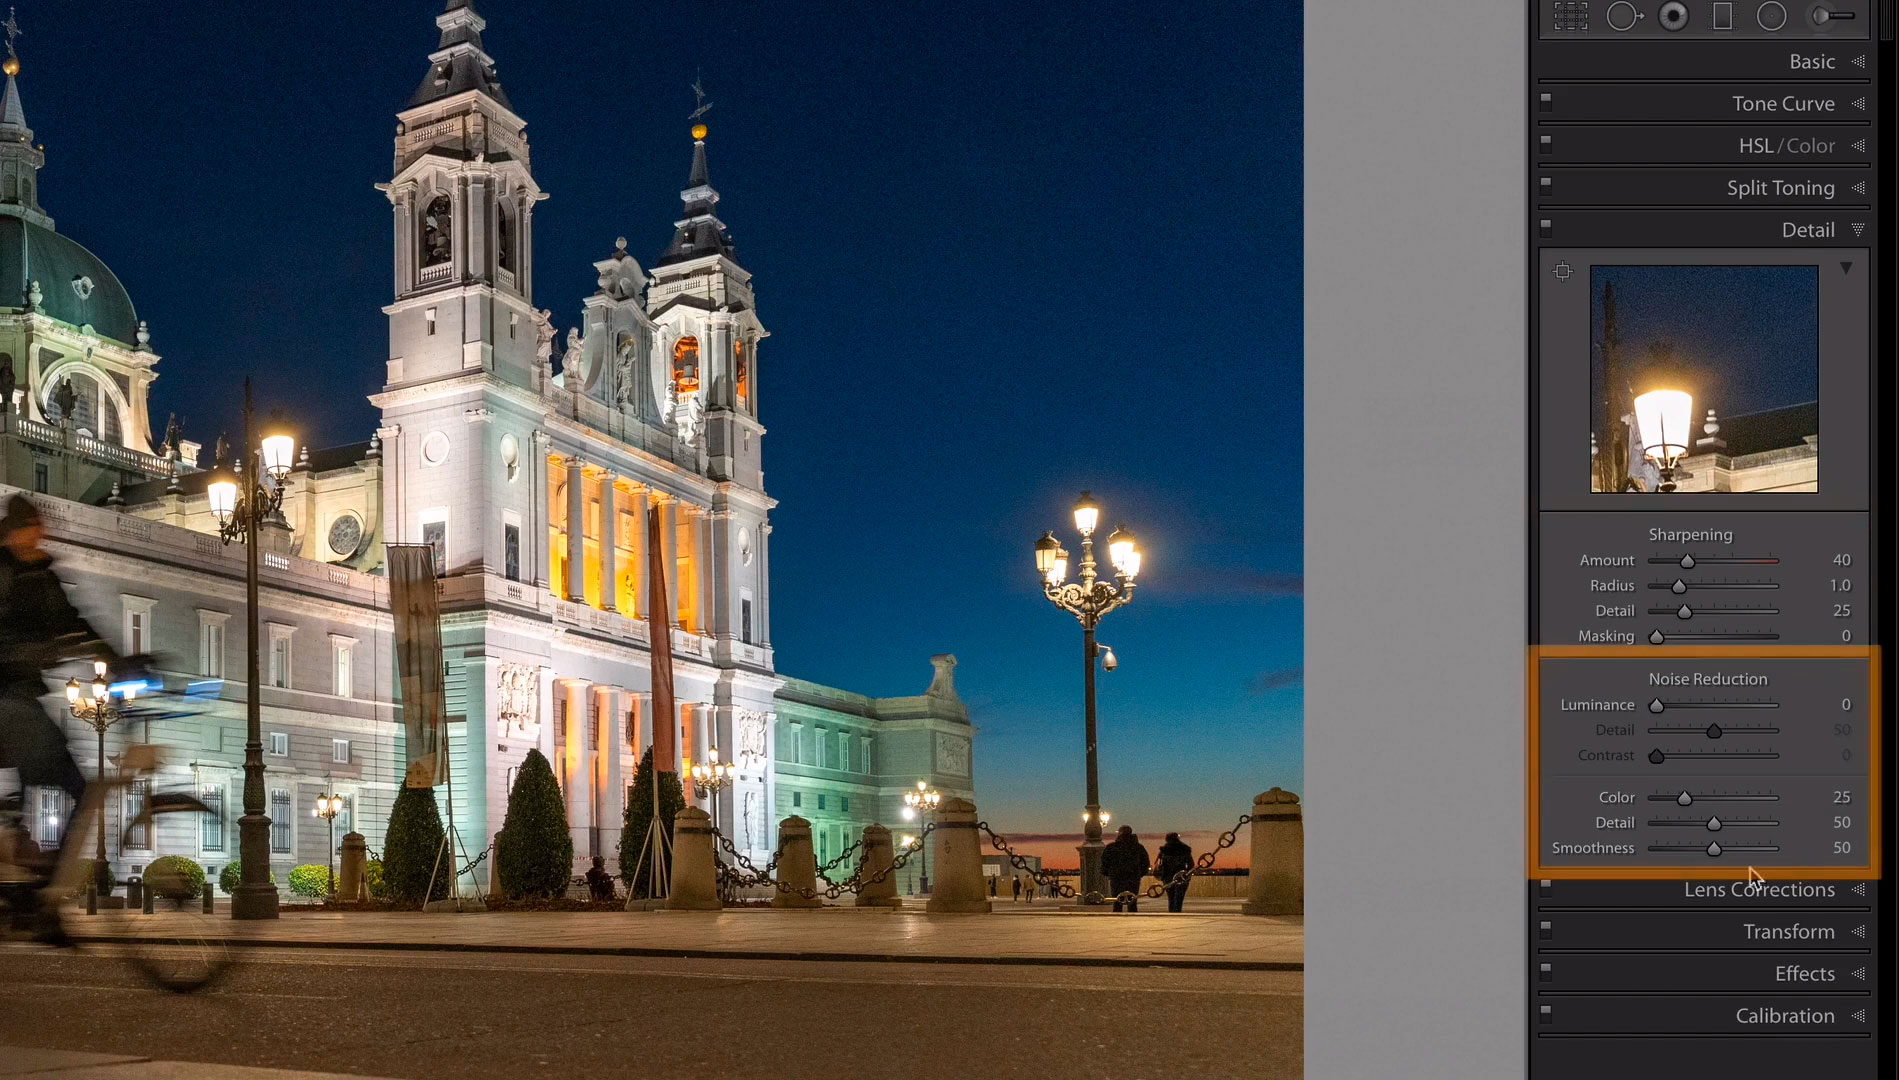
- Fine-tune the remaining sliders- Use the Detail and Contrast sliders after you've adjusted the Luminance slider. The Detail slider determines the amount of detail in the image; the greater the value, the more detail will be preserved. Of course, the more you raise the Detail slider, the less grains you'll remove.
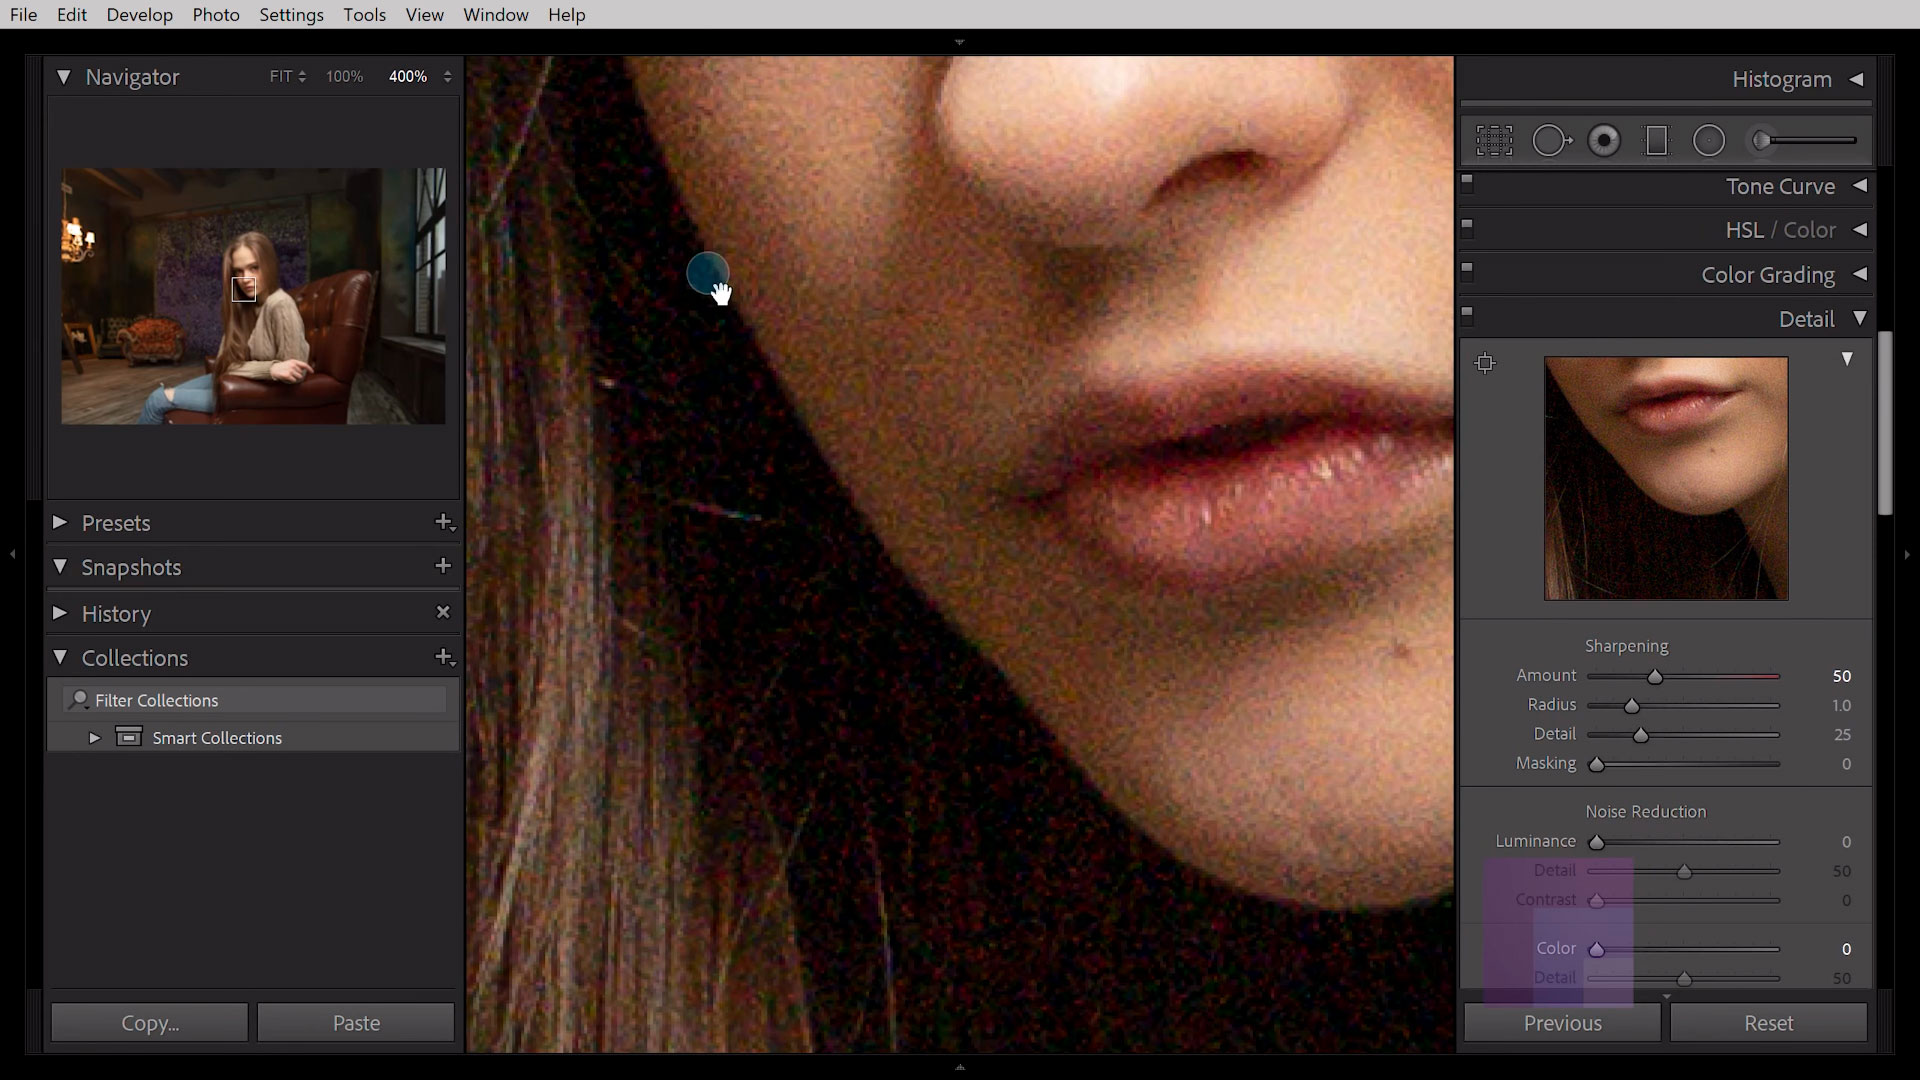
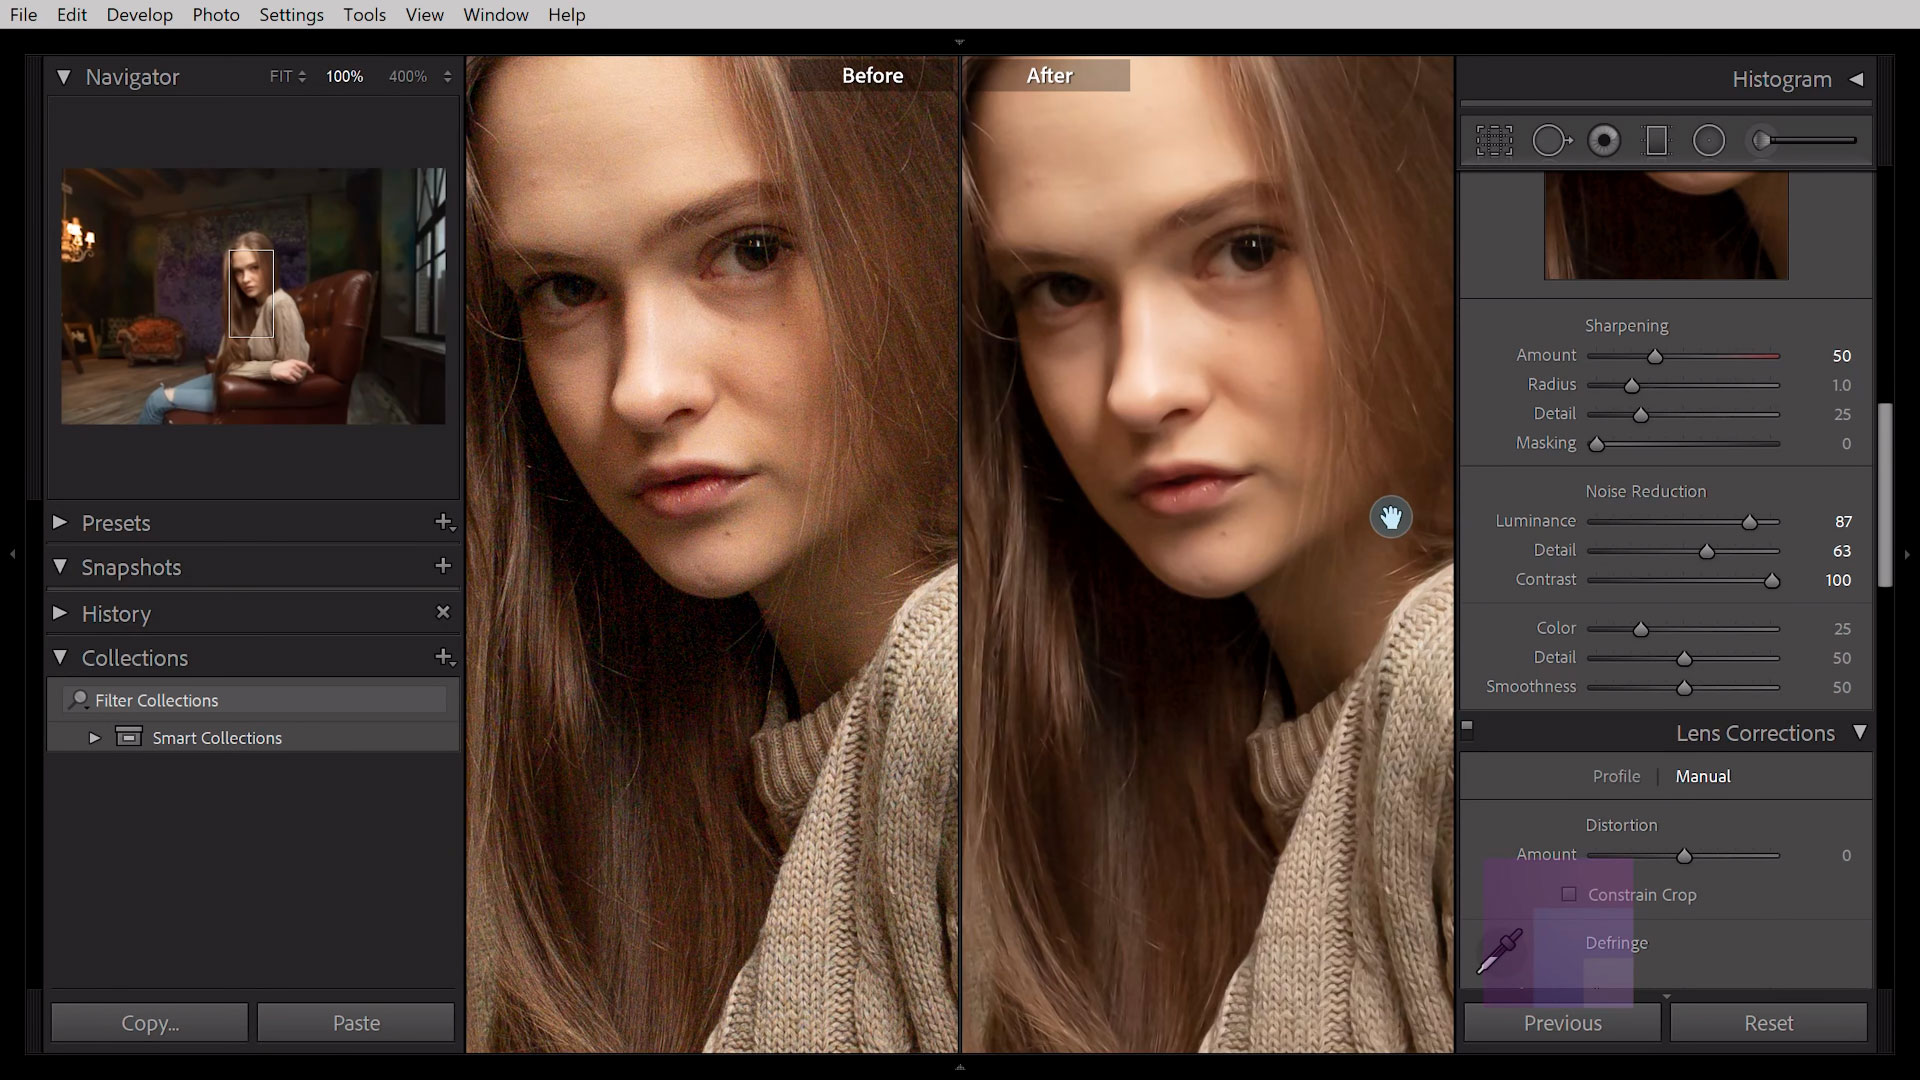
Also, the brightness contrast is controlled via the Contrast slider. Lower contrast levels produce a smoother, less grainy outcome at the expense of contrast. When color noise is removed, some grains may remain. As a result, it's critical to pay attention to details to be able to get rid of grains in Lightroom
How do I fix grainy photos in Lightroom app?
With the smartphone in your hand, you can fix grainy photos in Lightroom app with different preset settings. RAW photographs have the most details for you to edit, irrespective of whether you're shooting with a digital camera or a smartphone.
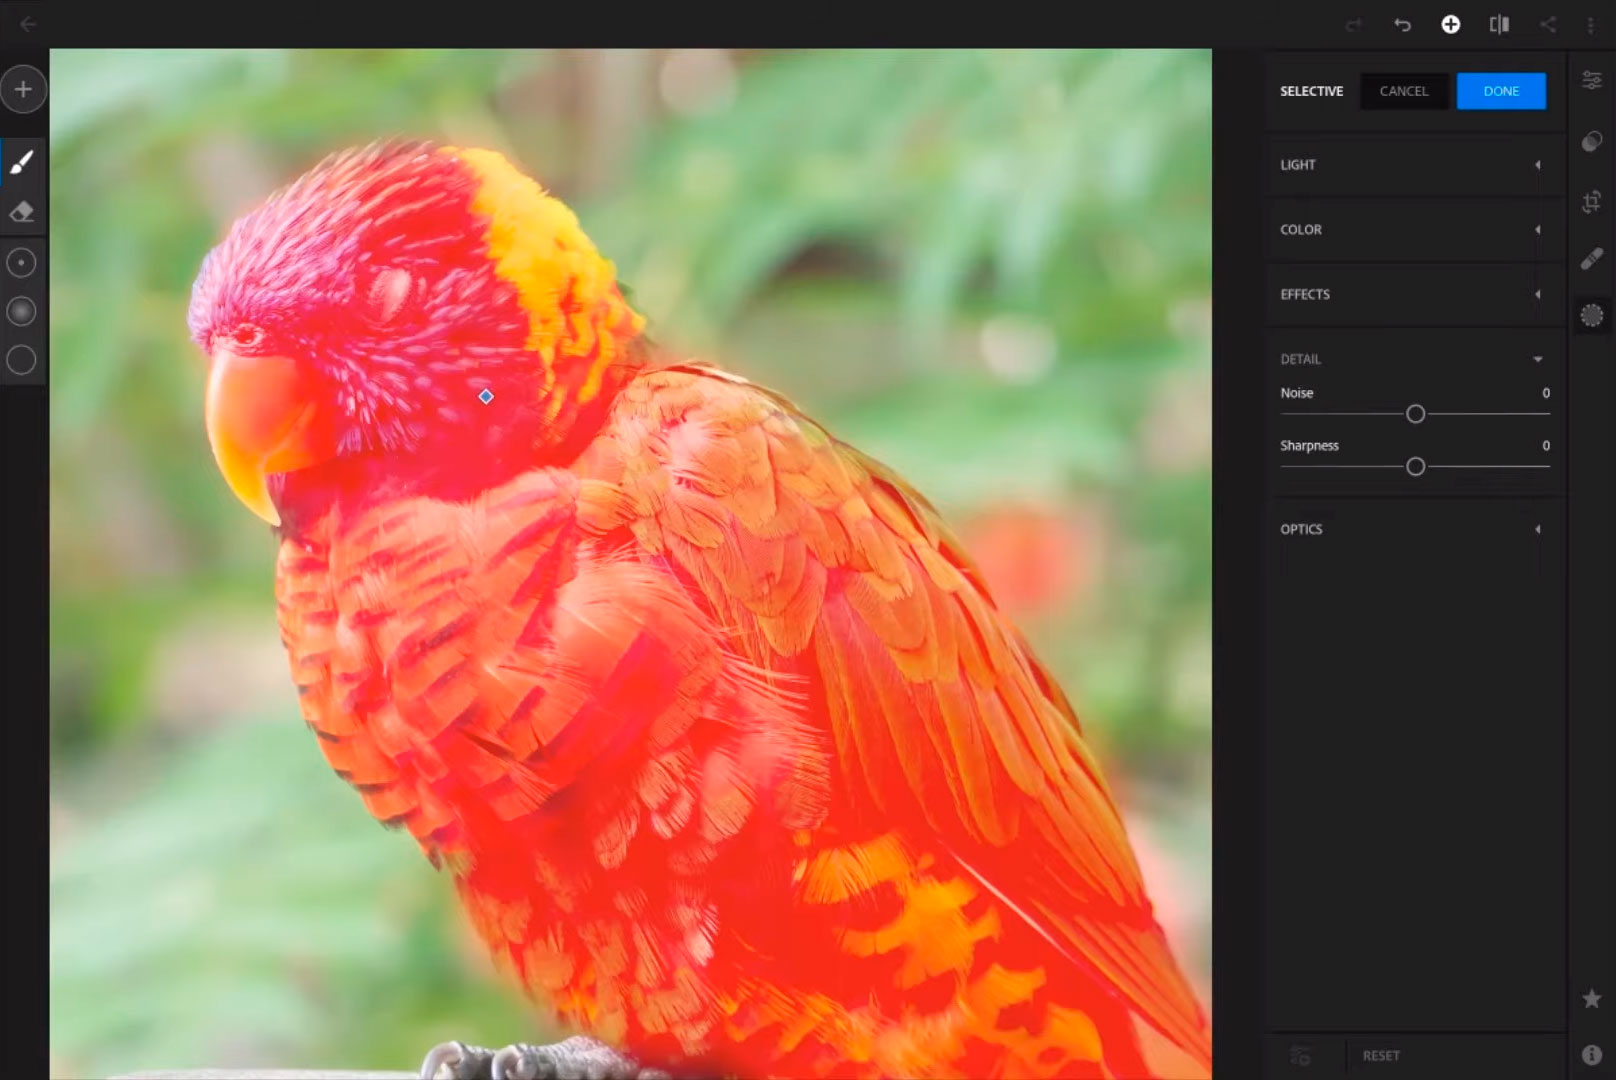
In either instance, grain reduction can be applied to a JPEG image or an imported photo that wasn't taken using the app's camera. When you've opened your image for editing, go to the bottom of the menu and look for the Detail option.
To access the slider controls, tap on it. The tools in this part are the same as those in the desktop segment. Color noise reduction and luminance noise reduction are also possible.
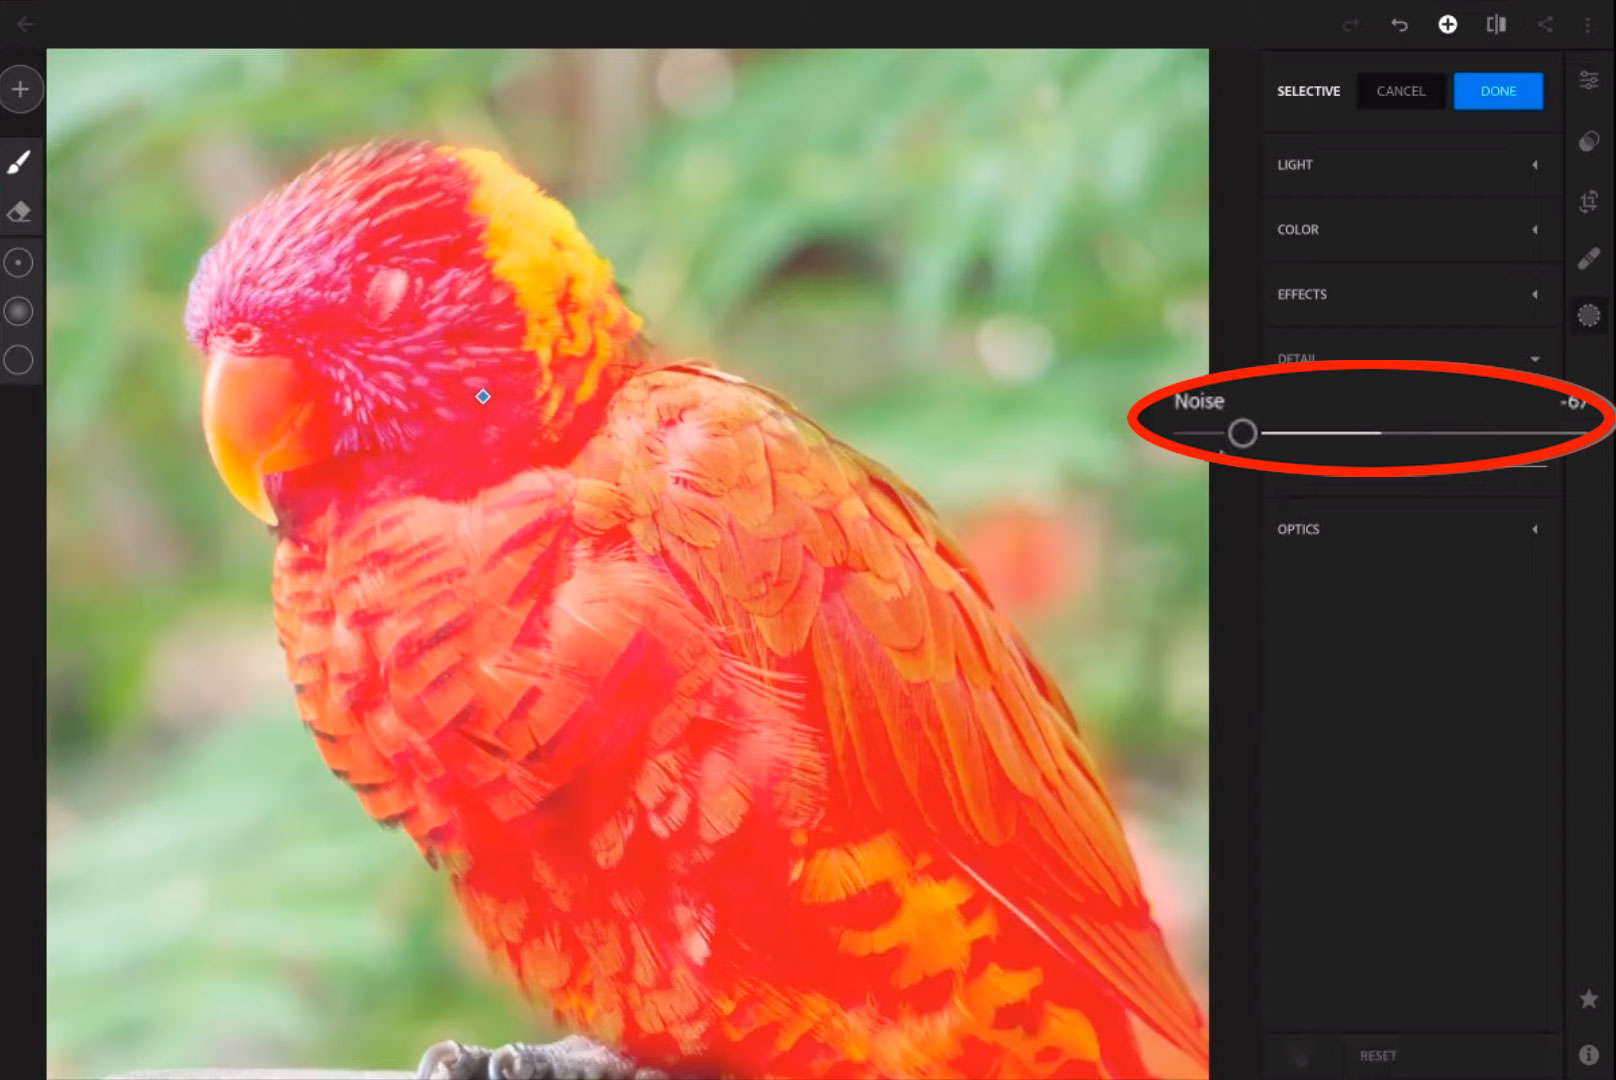
Simply tweak the noise using the sliders to fix grainy pictures in Lightroom, same as you would in Lightroom Classic. To know the level of correction, zoom in and out on your image with two fingers.
How to get rid of grain in lightroom?
You can reduce grain in Lightroom from your photos if you don't have professional equipment and prefer to take shots at night or with a lengthy exposure. Enter a workspace interface after uploading the picture into Lightroom.
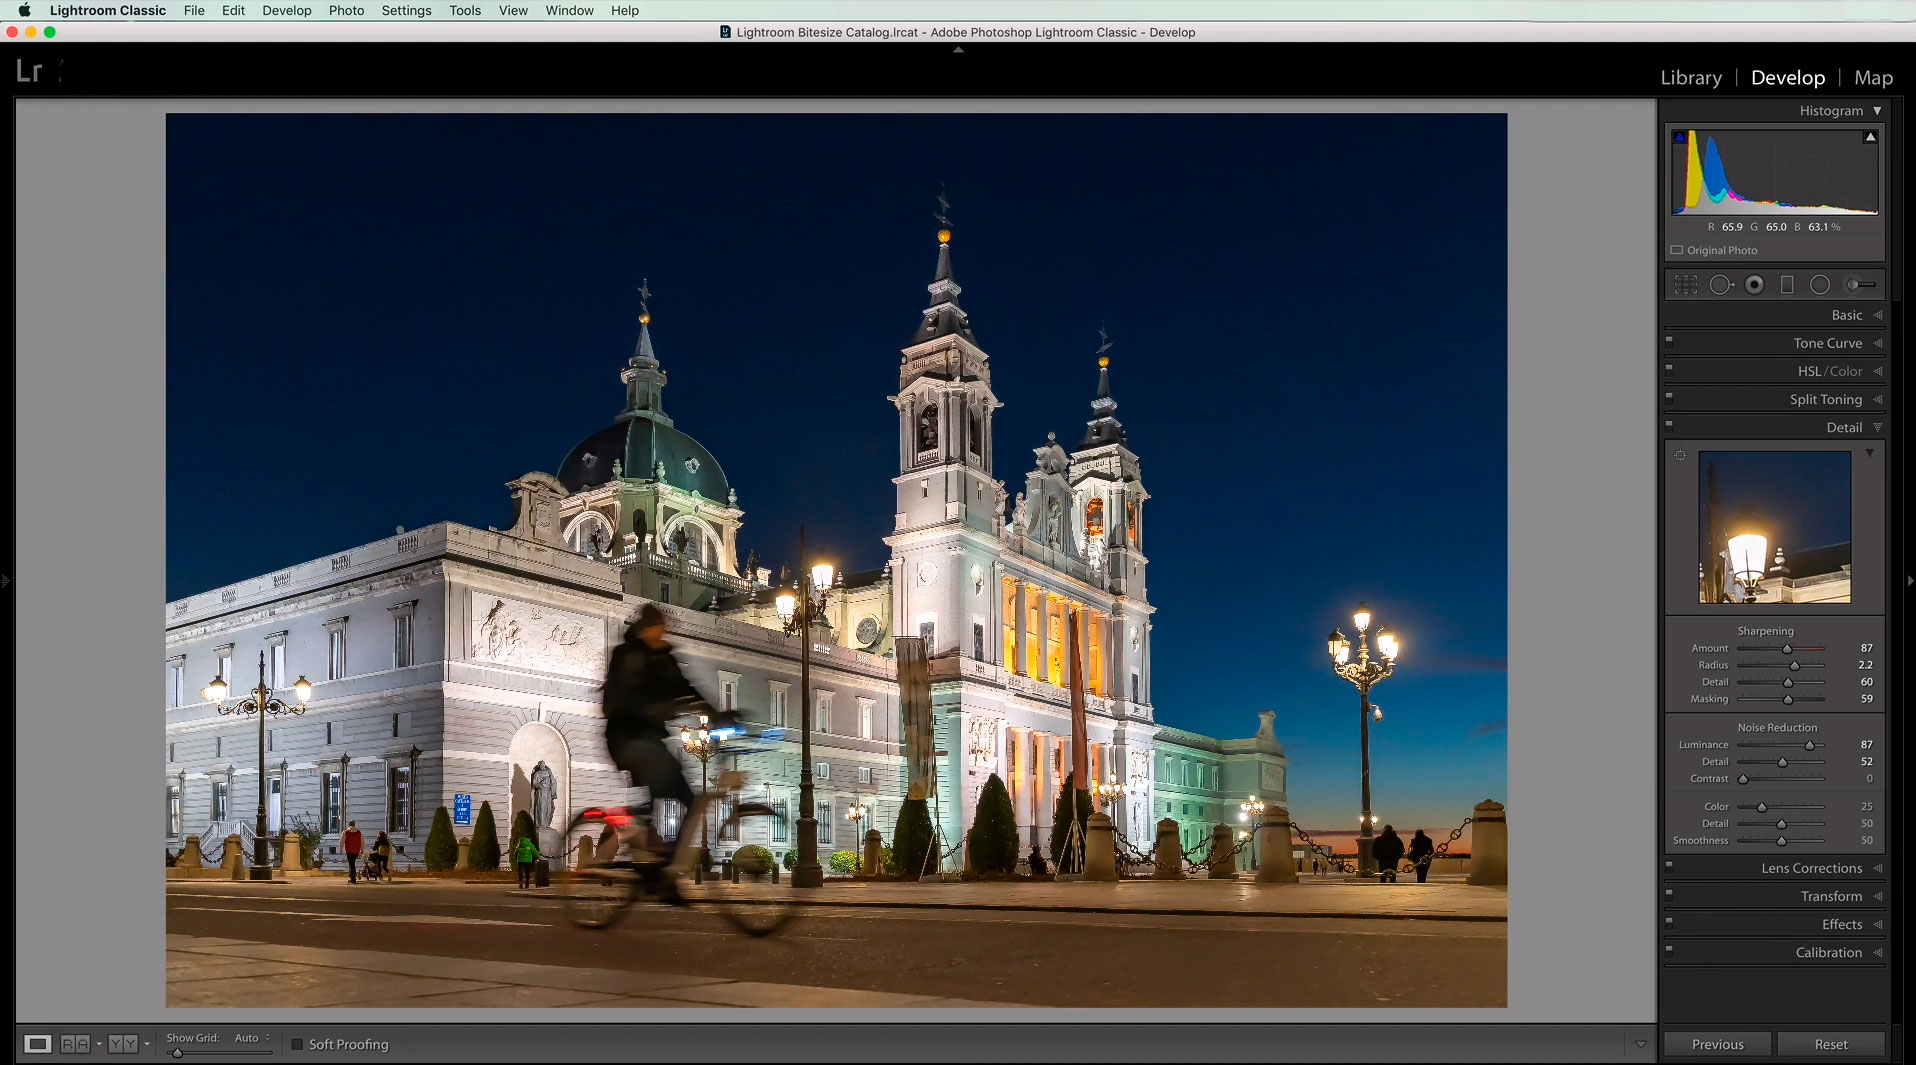
- Increase the image's size to 100%- It will assist you in identifying places with numerous details. It will, for example, let you alter a section of an image with hair, trees, grass, or flowers.
- Sliders can be used to make adjustments- The primary sliders that will assist you minimize grains may be found under the Noise Reduction menu.
- Sharpness can be tweaked- Then, adjust the Radius and Detail levels to get rid of grain in Lightroom effectively.
If everything seems good, you can now finish editing your photo and save it in whatever format you like after you've removed grain in Lightroom.