To remove shadows in Lightroom, there are a few steps that you have to do. First, it is suggested that you increase the exposure of the image. This allows you to see if the shadow area can be recovered (you want to be able to see shapes instead of a single bright image).

From there, you have to work with shadows and highlights to achieve your goal.
How do I remove shadows from photos in Lightroom?
Now, how to edit out shadows in Lightroom is a process. This isn’t a single push button; however,
You can easily do this if you follow these steps.
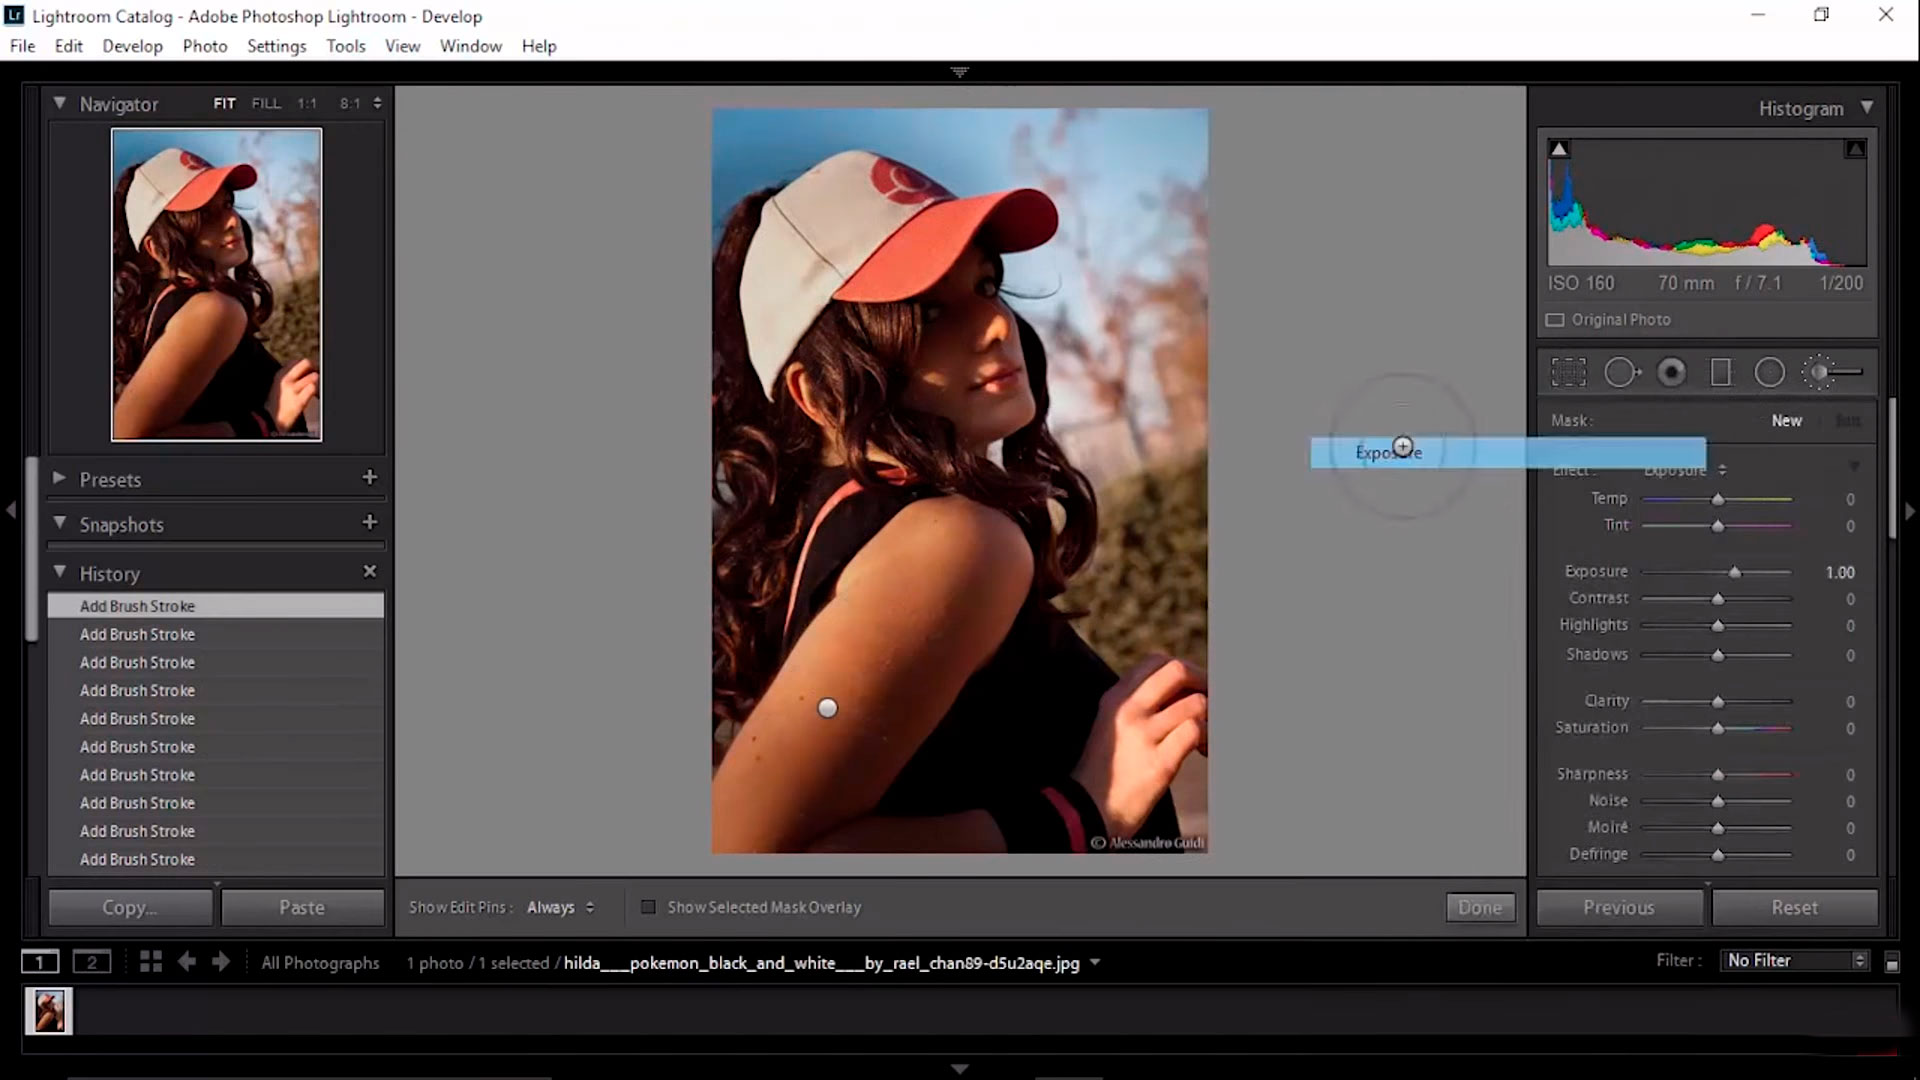
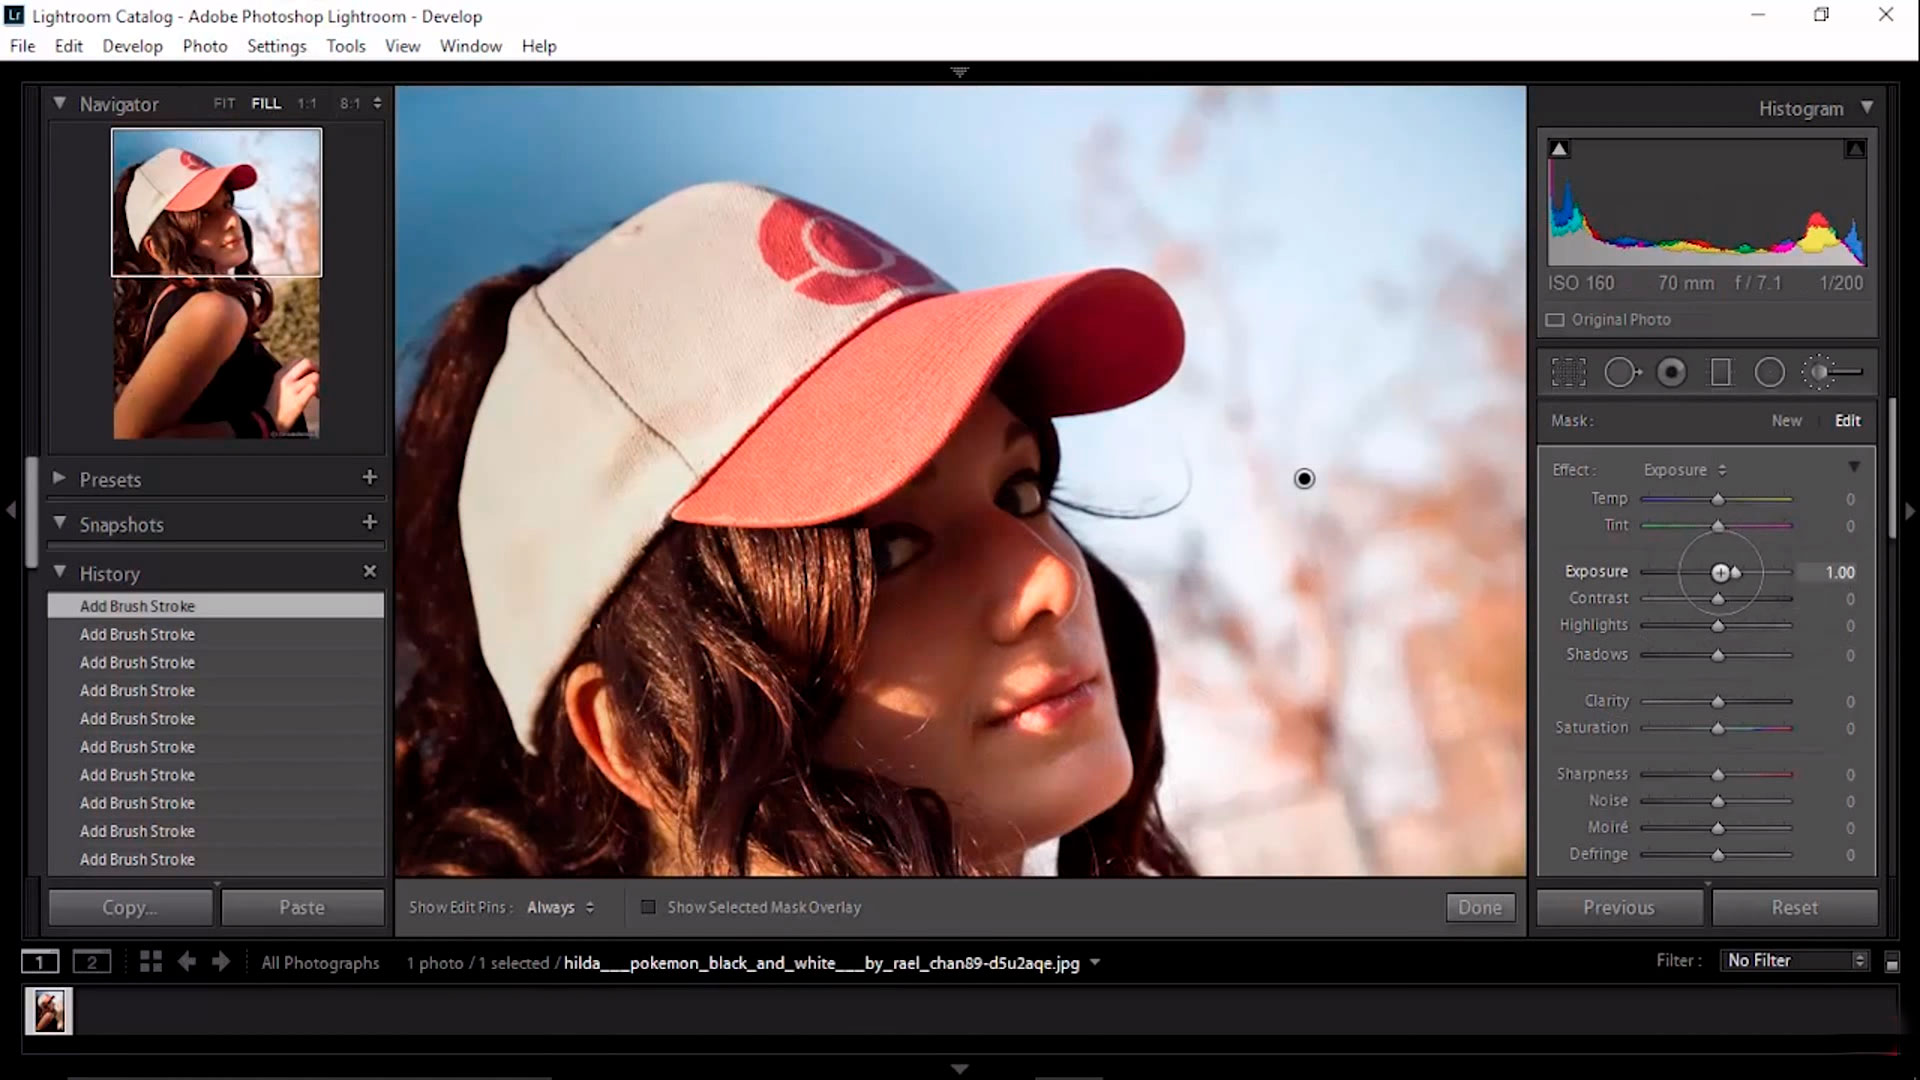
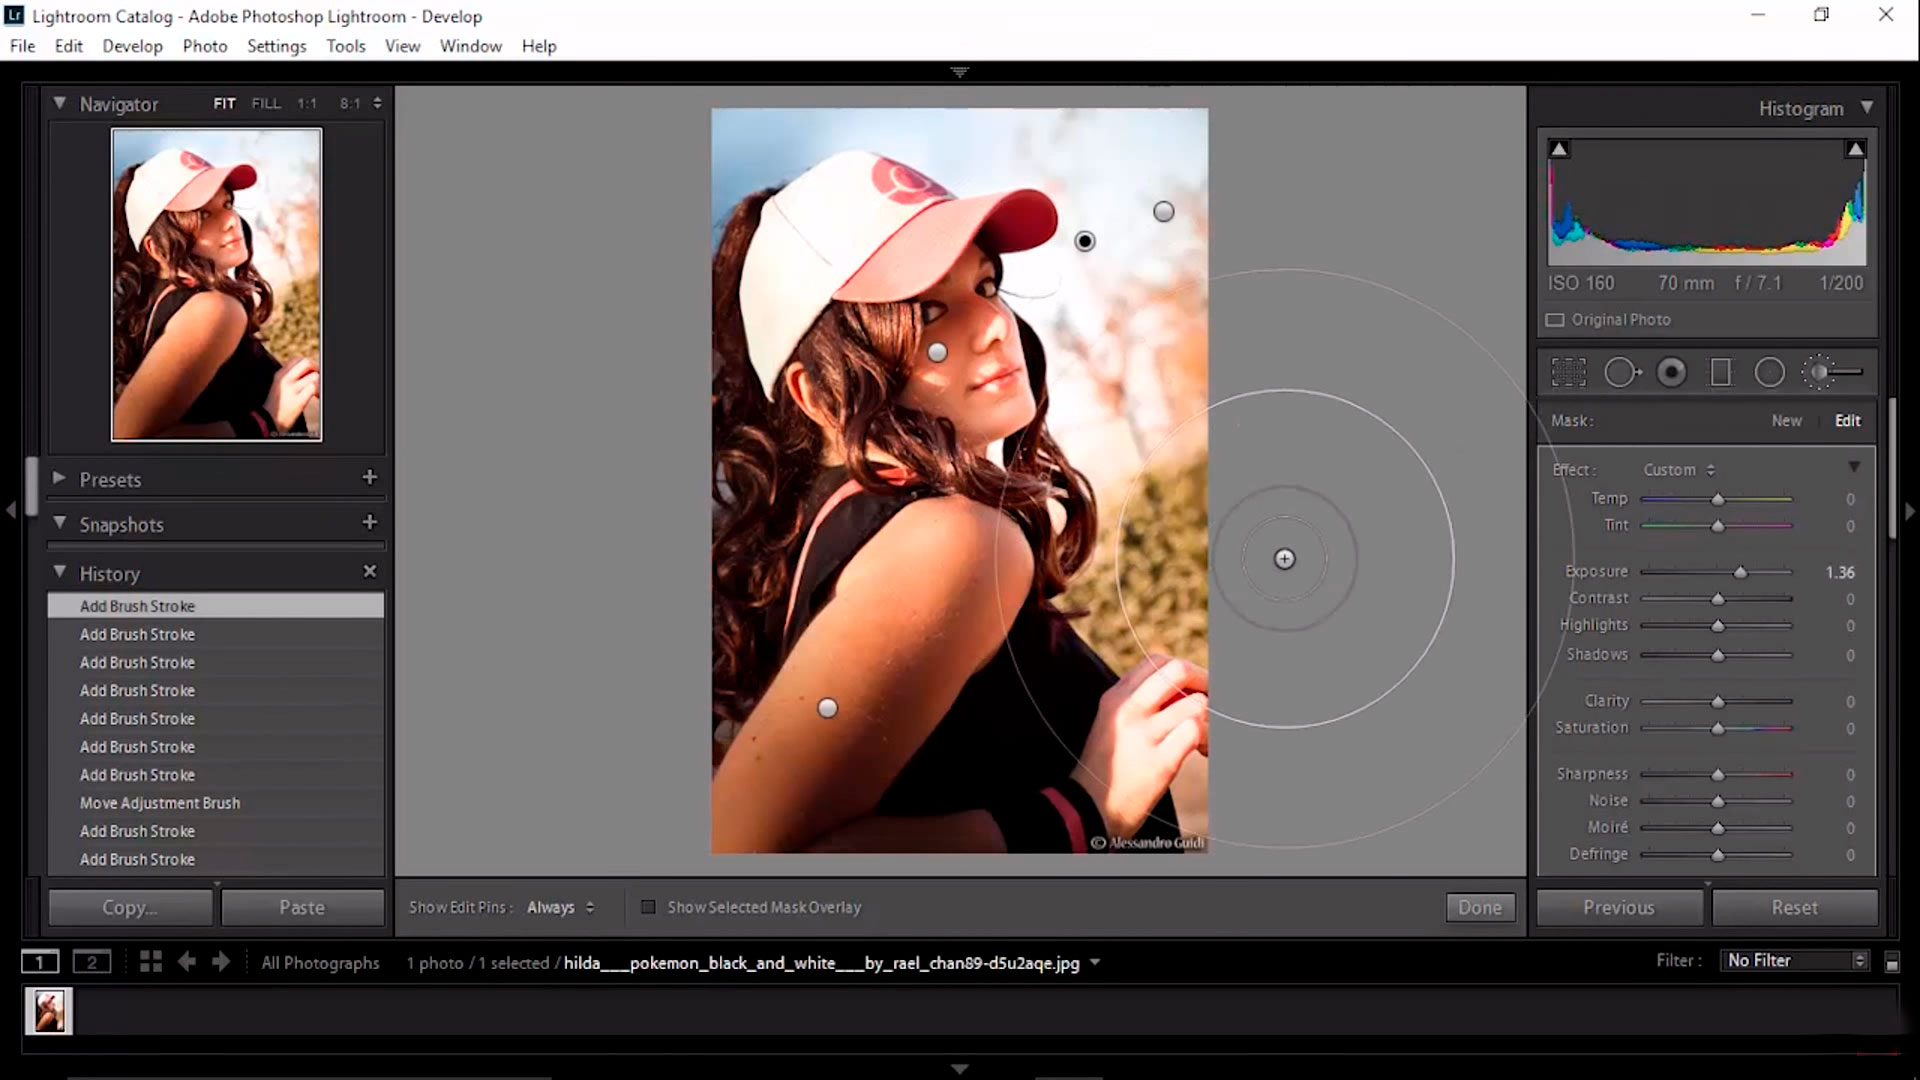
This is a quick how to edit shadows in Lightroom review, however, you may also need to work on smaller spaces like faces. Get rid of shadows in Lightroom to make sure your photos look just like you want them to!
How do I remove shadows from faces in Lightroom?
To remove shadows from faces in Lightroom, you follow steps close to those above. This time, you can use different tools to make sure you pinpoint shadowed spaces. After you adjust exposure and see how much light you can place in the shadows (i.e., adjusting luminance),
You can start to fix shadows on faces in Lightroom:
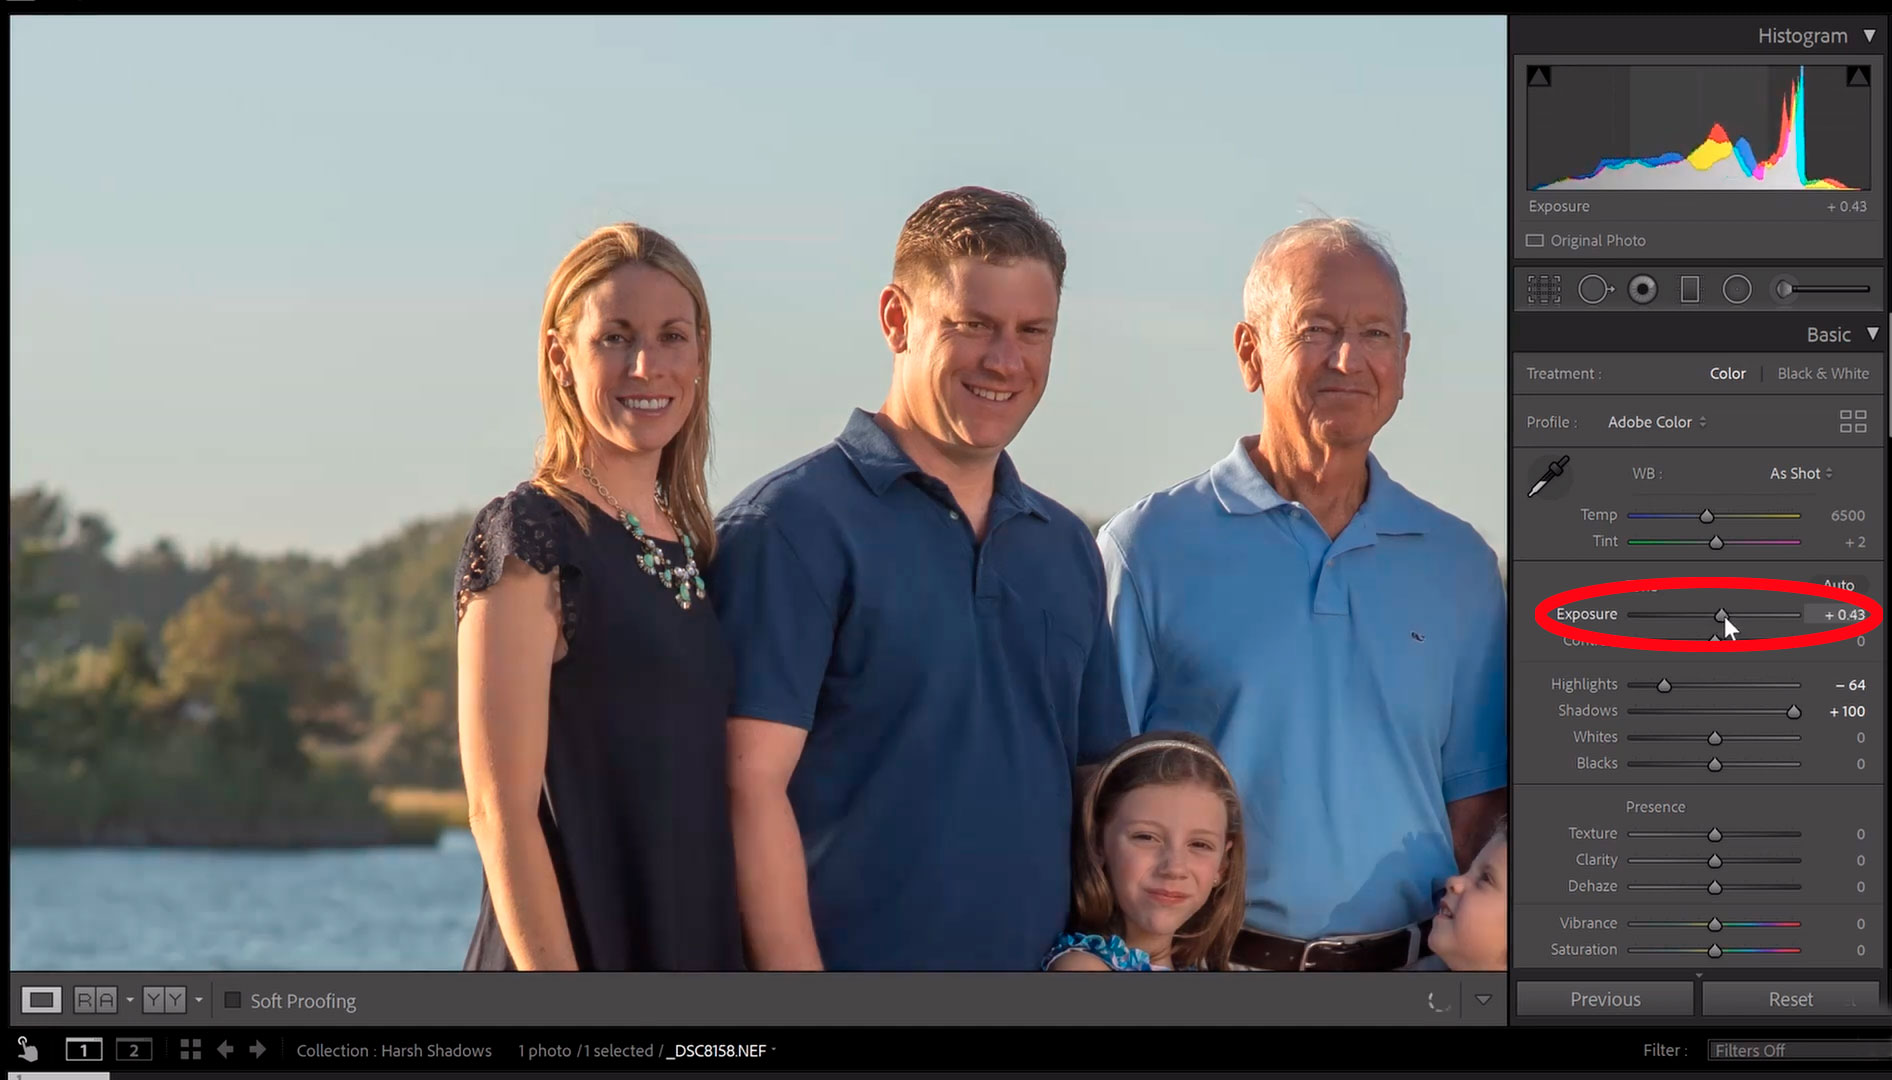
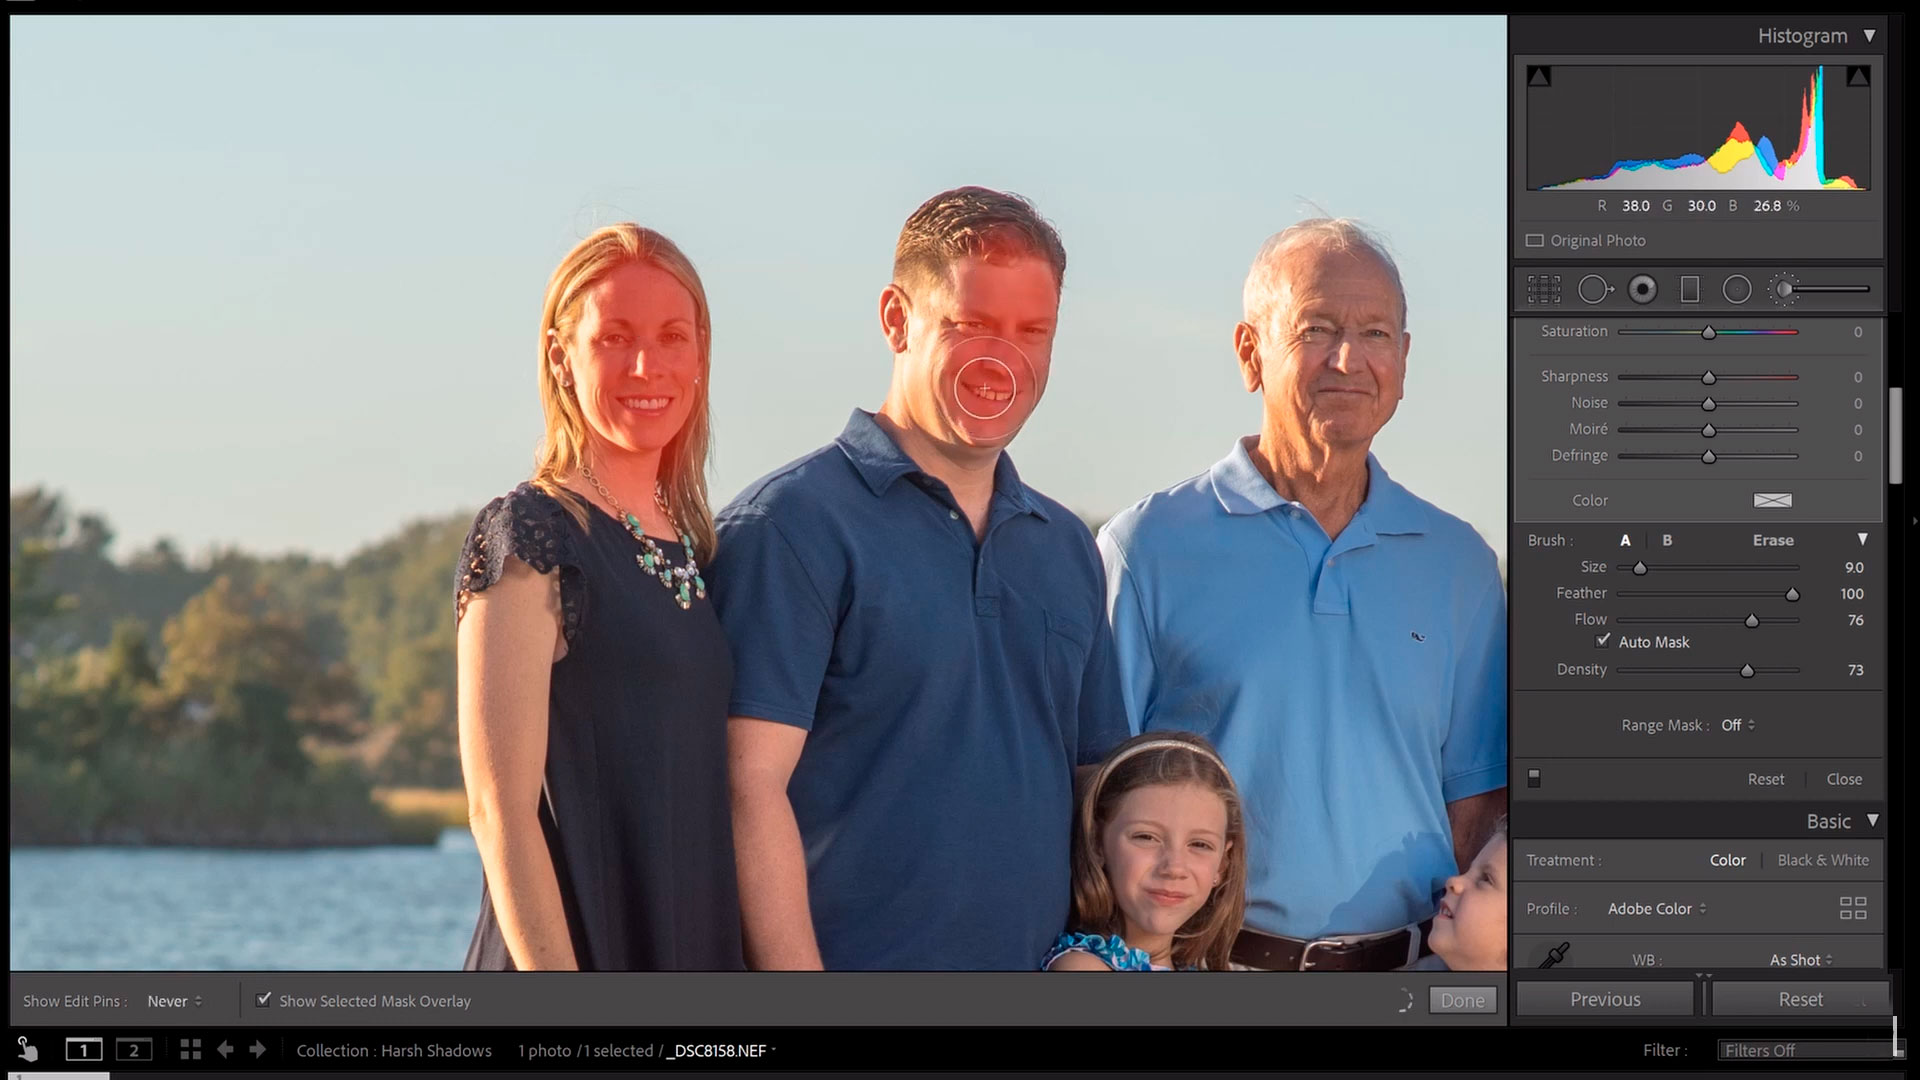
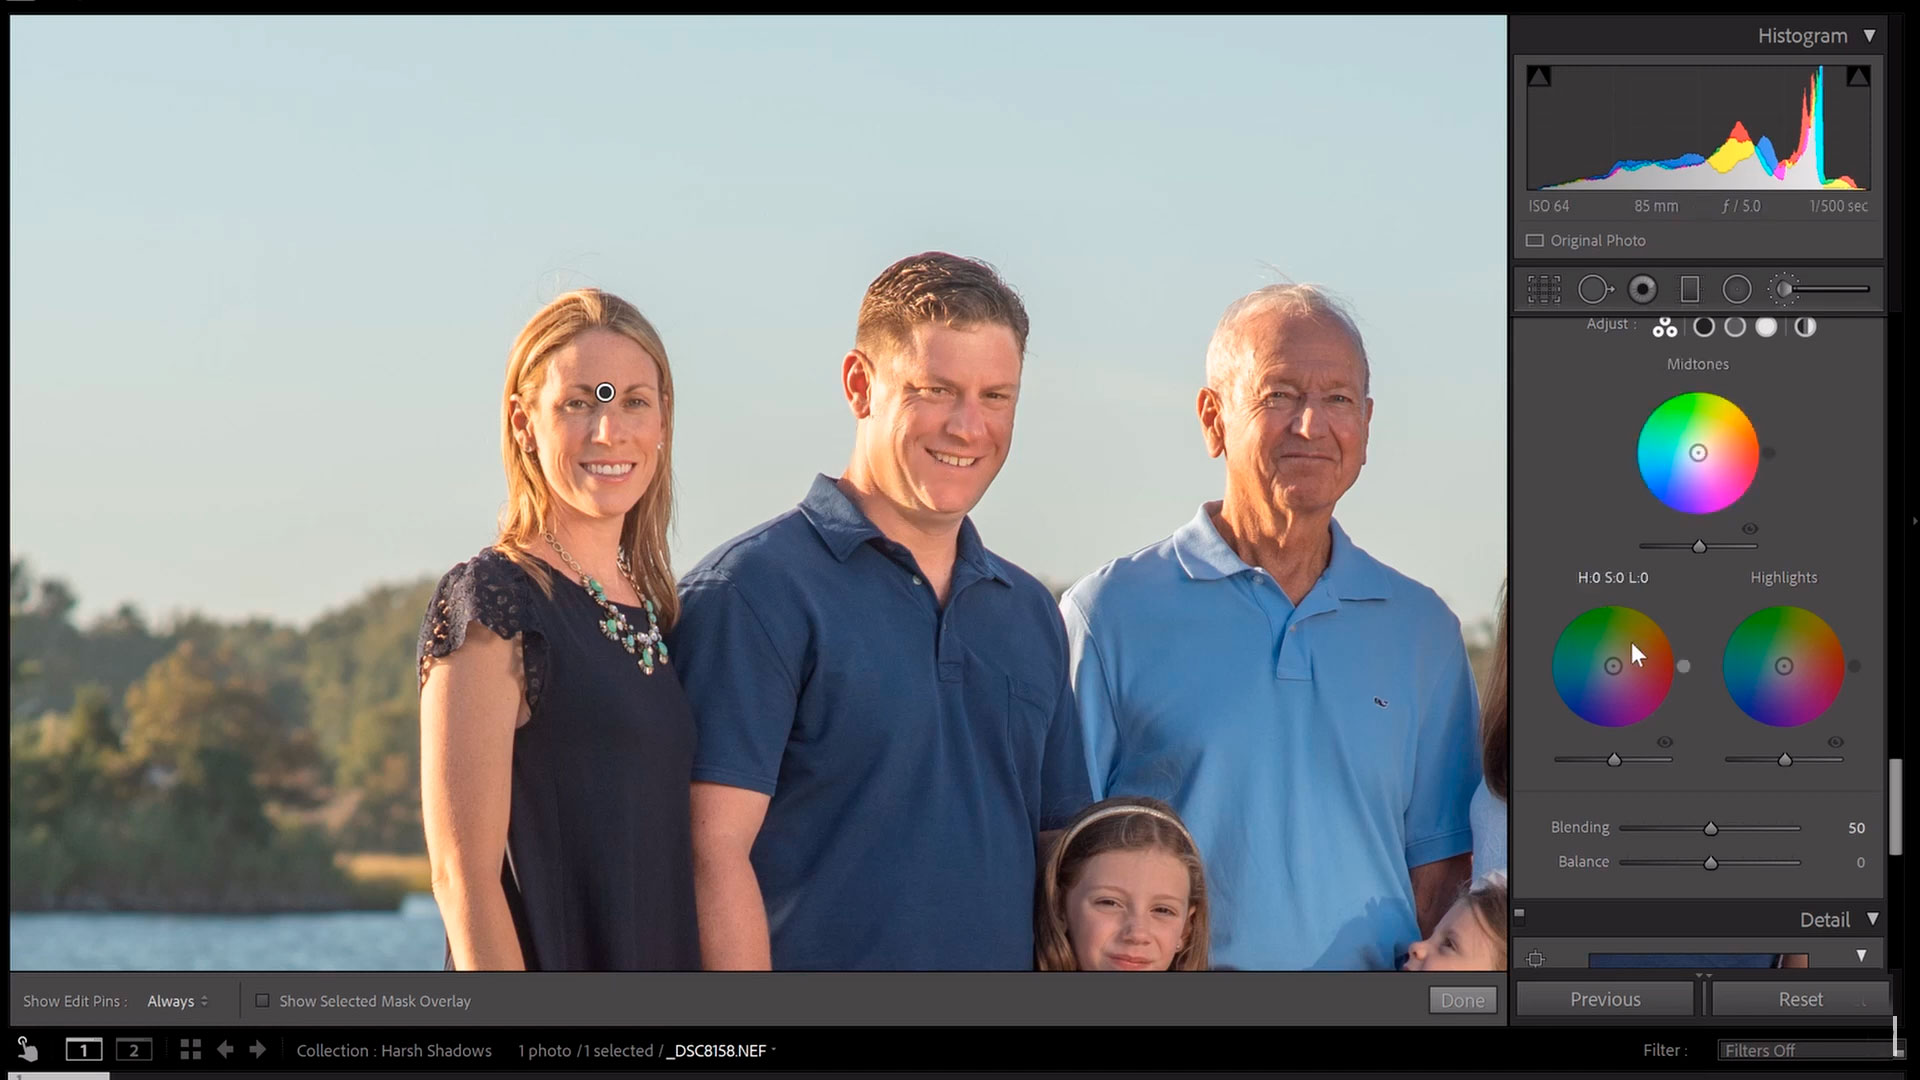
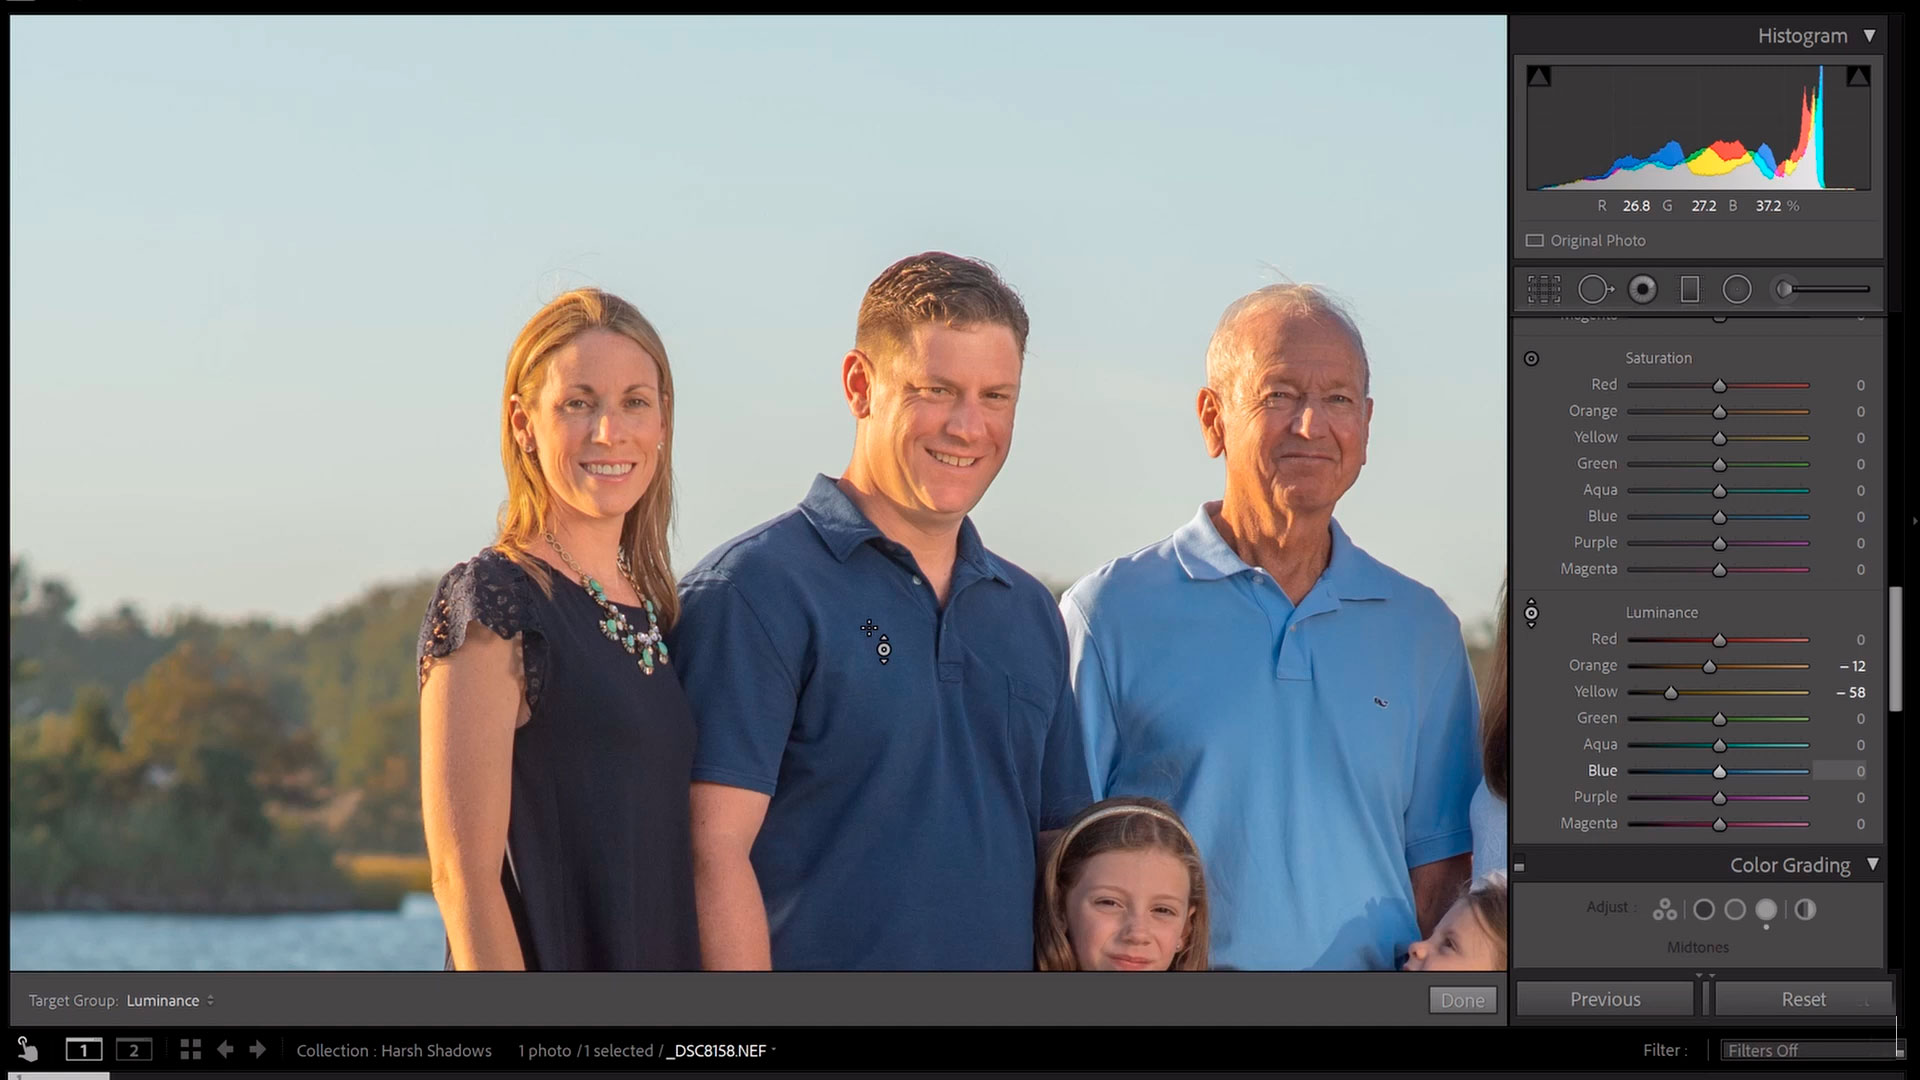
Finish editing your photo with Color Grading – this helps the photo blend. You can add specific color tones to your highlights to help your photo come together and match the tone of the lighting (oranges for sunlight and blues for fluorescent lights for example).
How do I remove shadows from faces in Lightroom mobile?
Fortunately, it’s not hard to remove shadows in Lightroom mobile. First, download the app and then pull it up on your phone.
To remove shadows from the face in the Lightroom app
you’ll have to share your photo to Lightroom first.

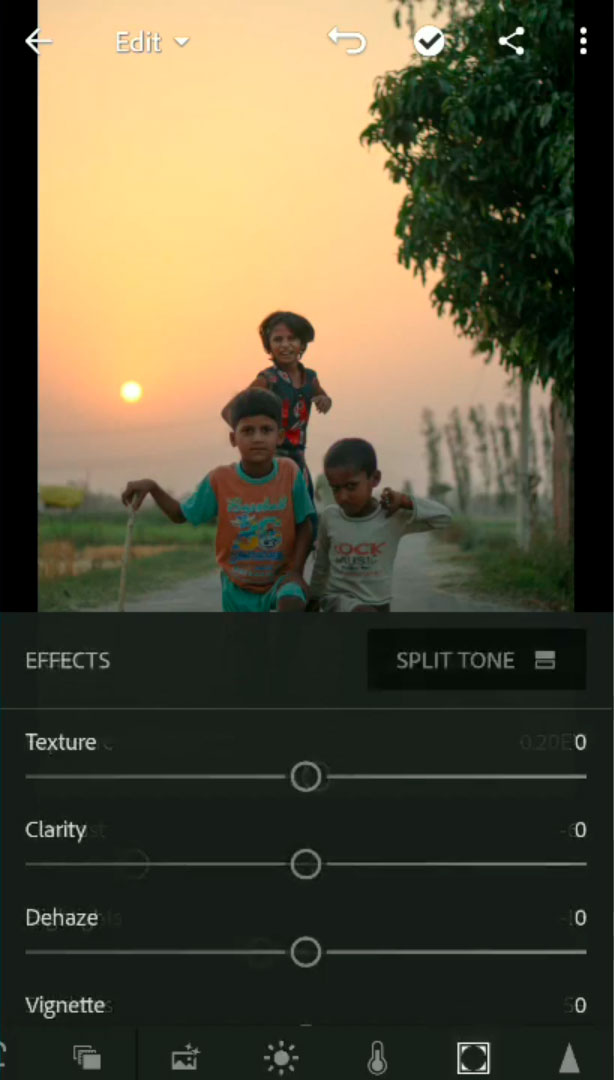

Lightroom is a very handy tool to have on your computer and your phone: you can even sync your accounts. Have fun editing!
