Let’s Begin
First, open the program and select a photo that you want to edit.
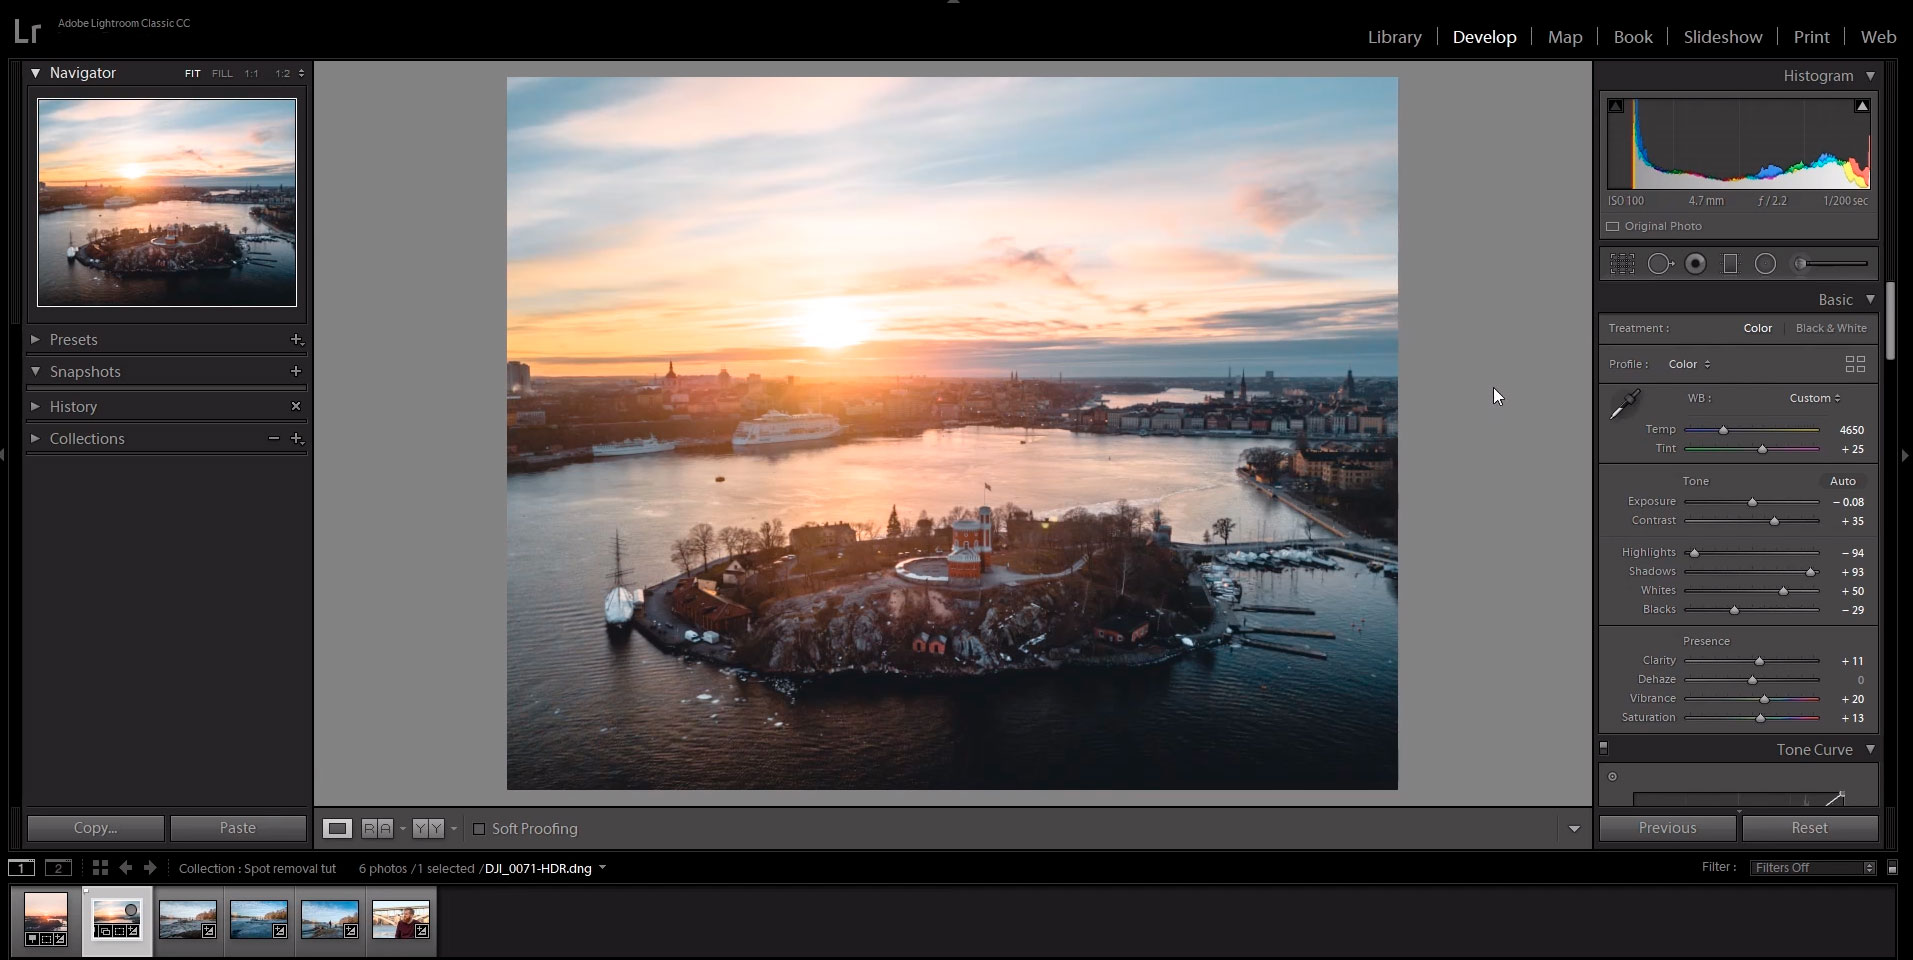
A wonderful feature is that you can always compare back to older versions so that you can see what has been changed in the photo.
To remove objects in lightroom, you will need to look through the menu first. Look for a circle with an arrow that points to the right OR press the letter Q. Both will open the remove objects in lightroom feature.

The Next Step
Second, you will want to begin removing the objects in your photo. This can be a little challenging. Lightroom replaces the object in your photo with another part of the picture. The part of the picture that replaces the object is as similar to the area around the object as possible. It’s like magic!
The brush that appears when you press Q or click on the circle with the arrow, can be adjusted to fit the size of your object. Make sure that the entire object is selected within the circle.
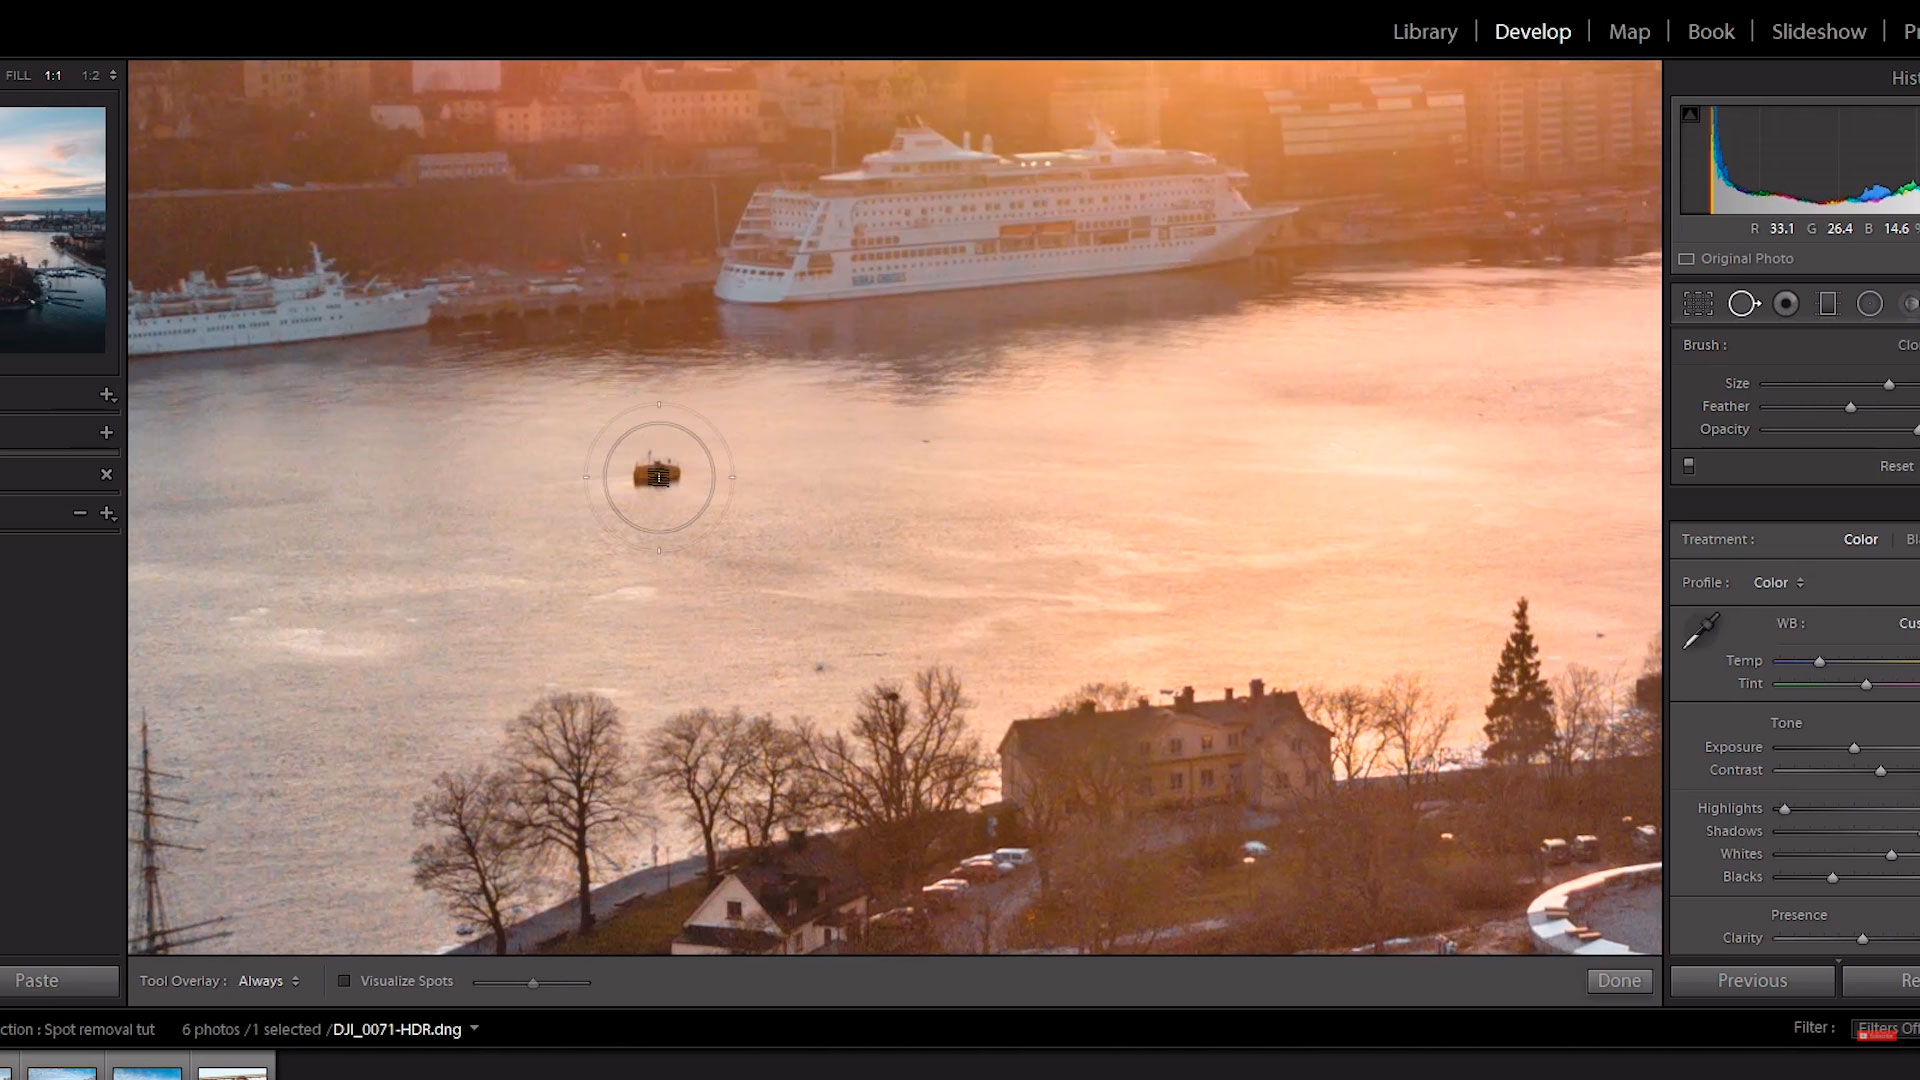
Please note: Make sure you zoom in when you use this tool when you remove unwanted objects in Lightroom CC . If you don’t, Lightroom can have a hard time finding a solid match for your picture!
Final Selections
Now, two circles will pop up: one is for the object, the second is for the area that is copied. Another part of your photo is taken to remove the unwanted object in lightroom. If you don’t like the area that you selected, move the circle to cover the object. You can also move the second circle to find a better set of pixels to copy.
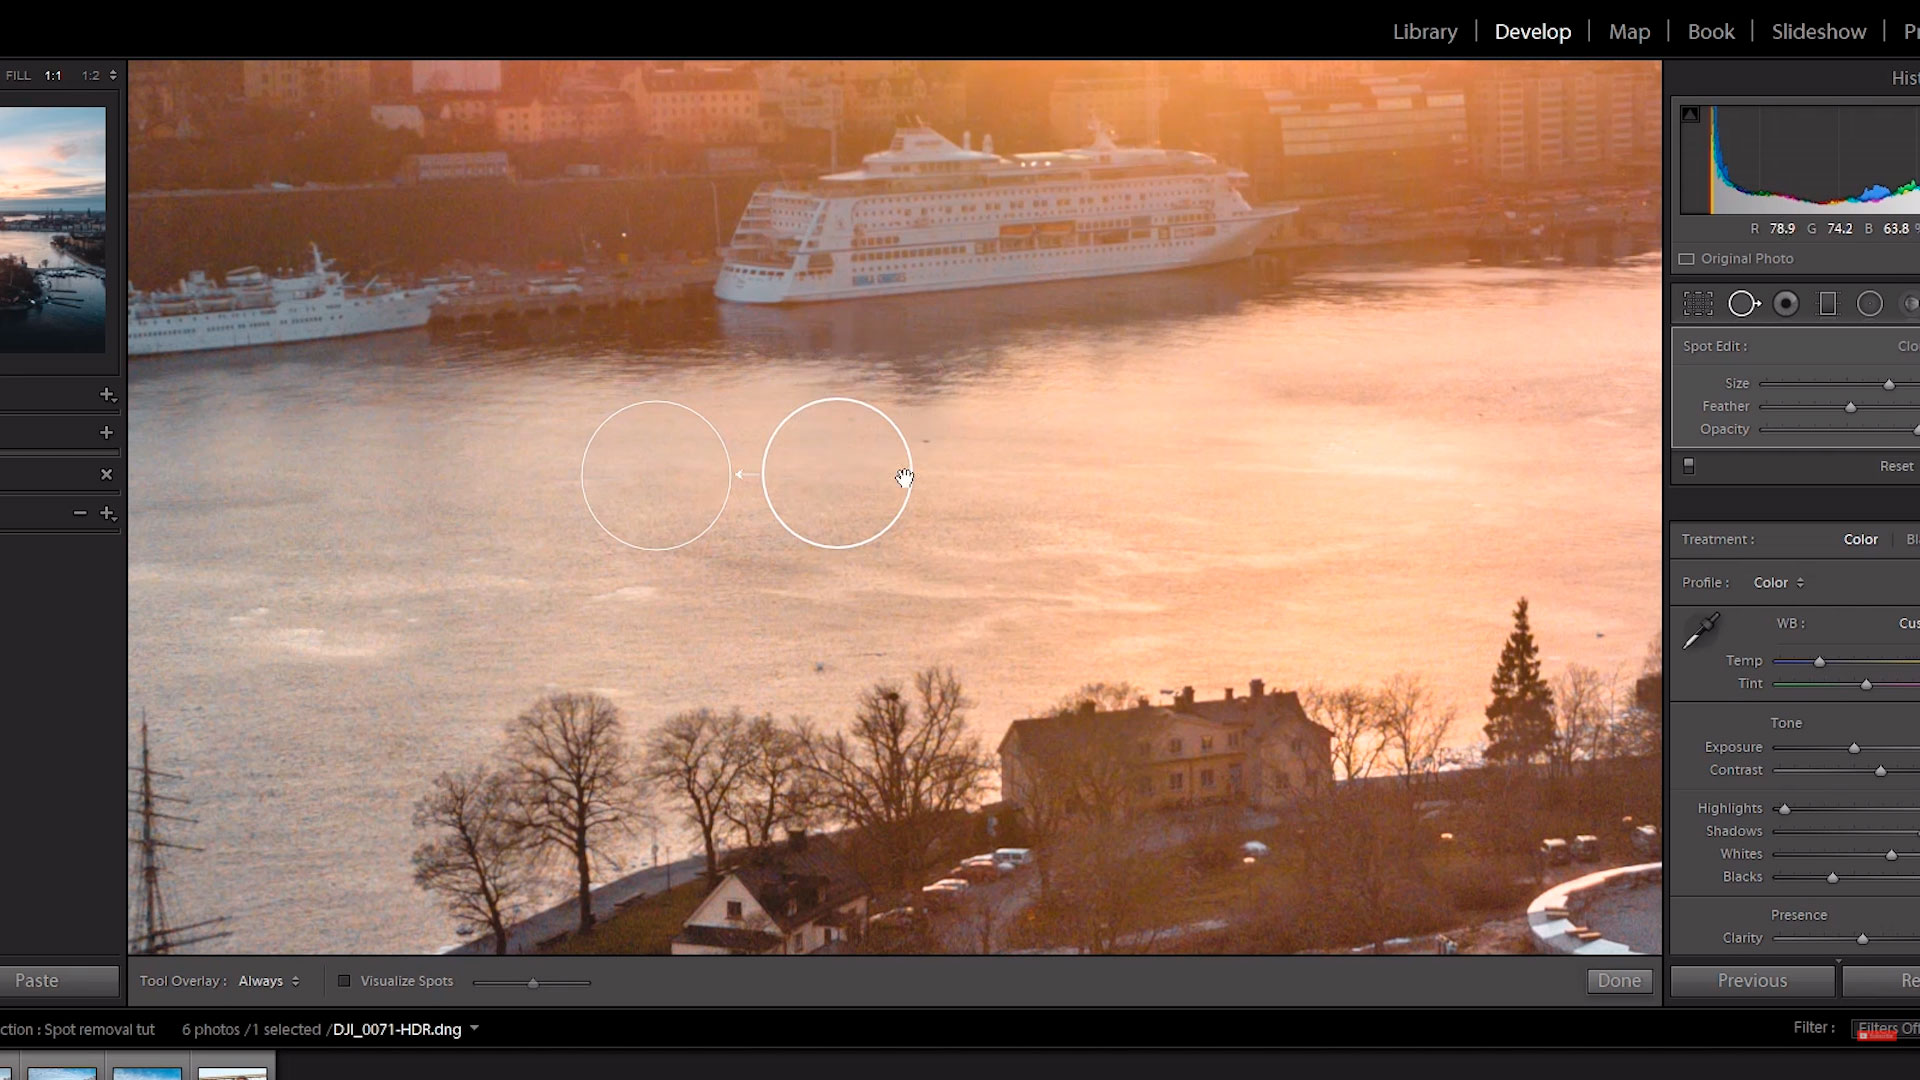
You have removed your first object! But what about specific situations?
Removing Objects in Lightroom: Larger Objects
Generally speaking, Lightroom does not remove large objects and is meant to work on spots of a photo.
However …
You can remove people in photos but only in pieces. Divide your larger object into smaller pieces that make it easy to match the pixels that you choose to replace the object.
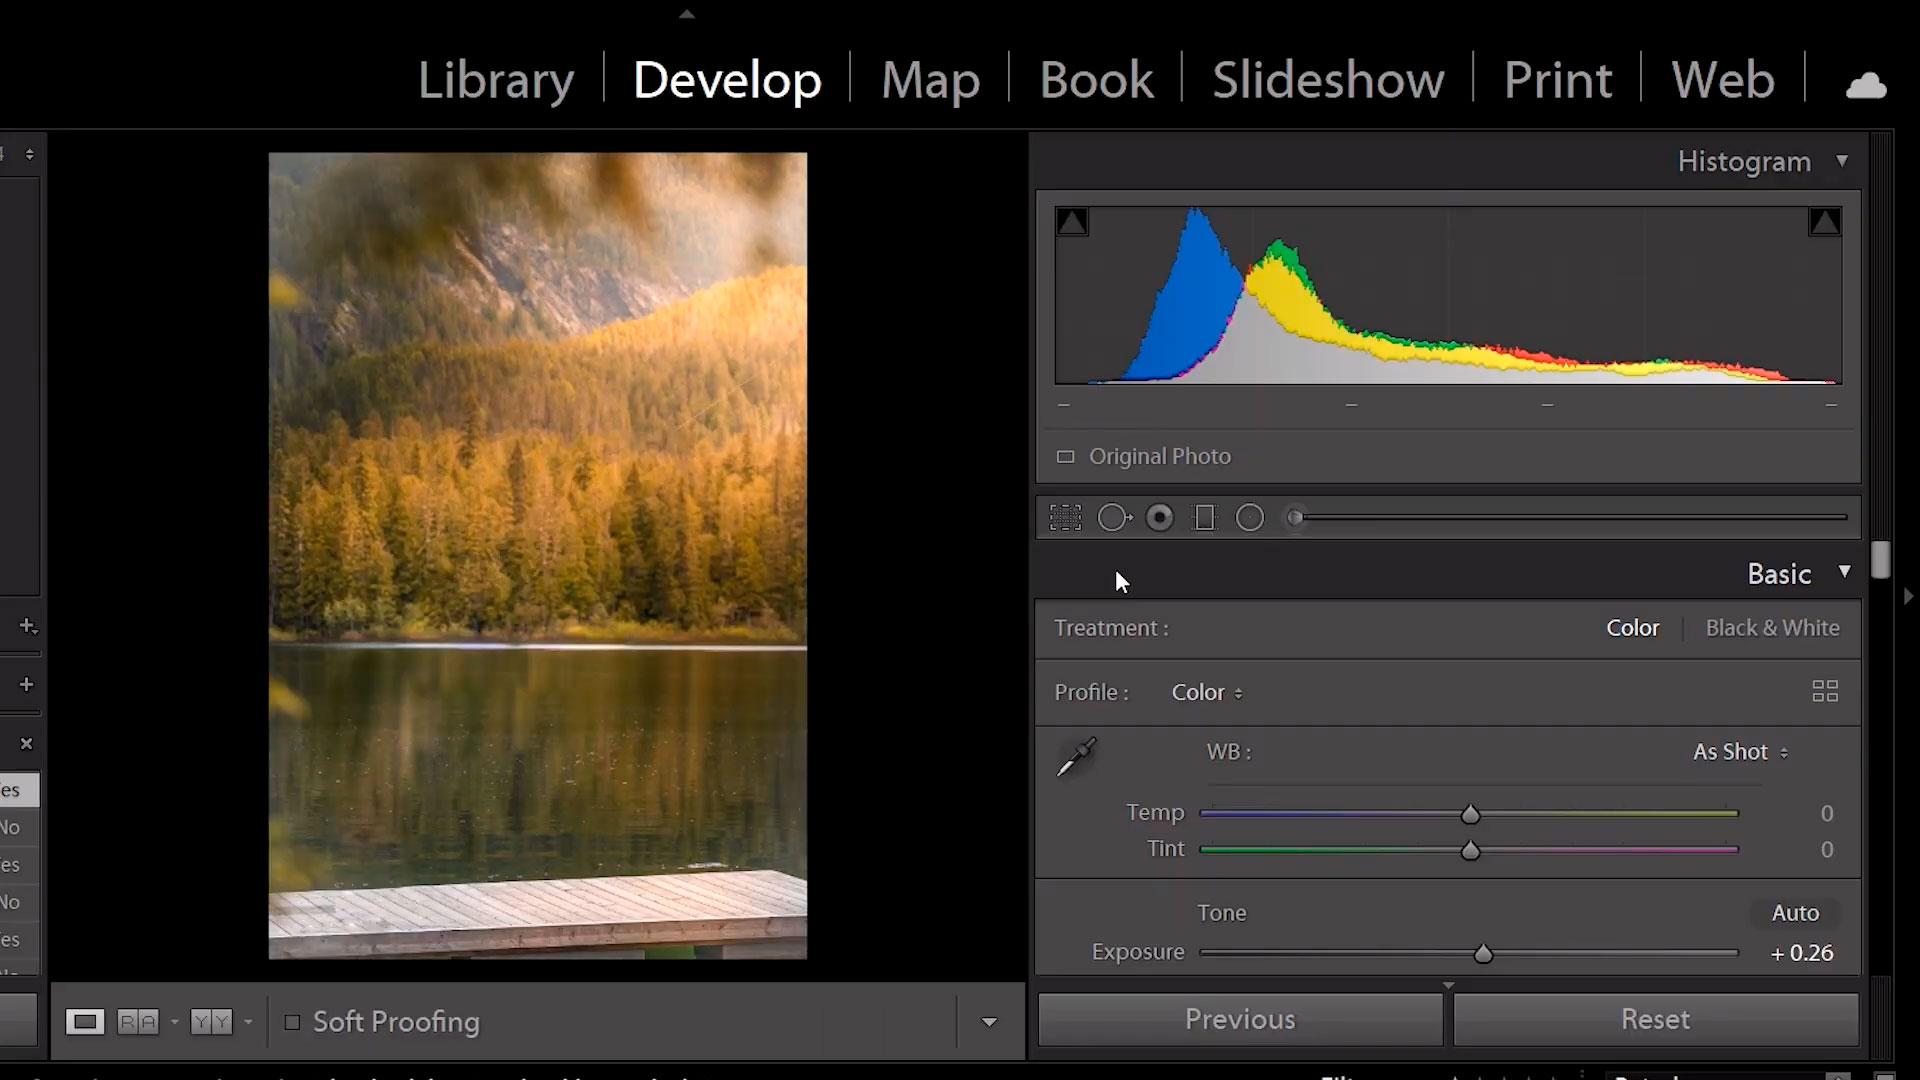
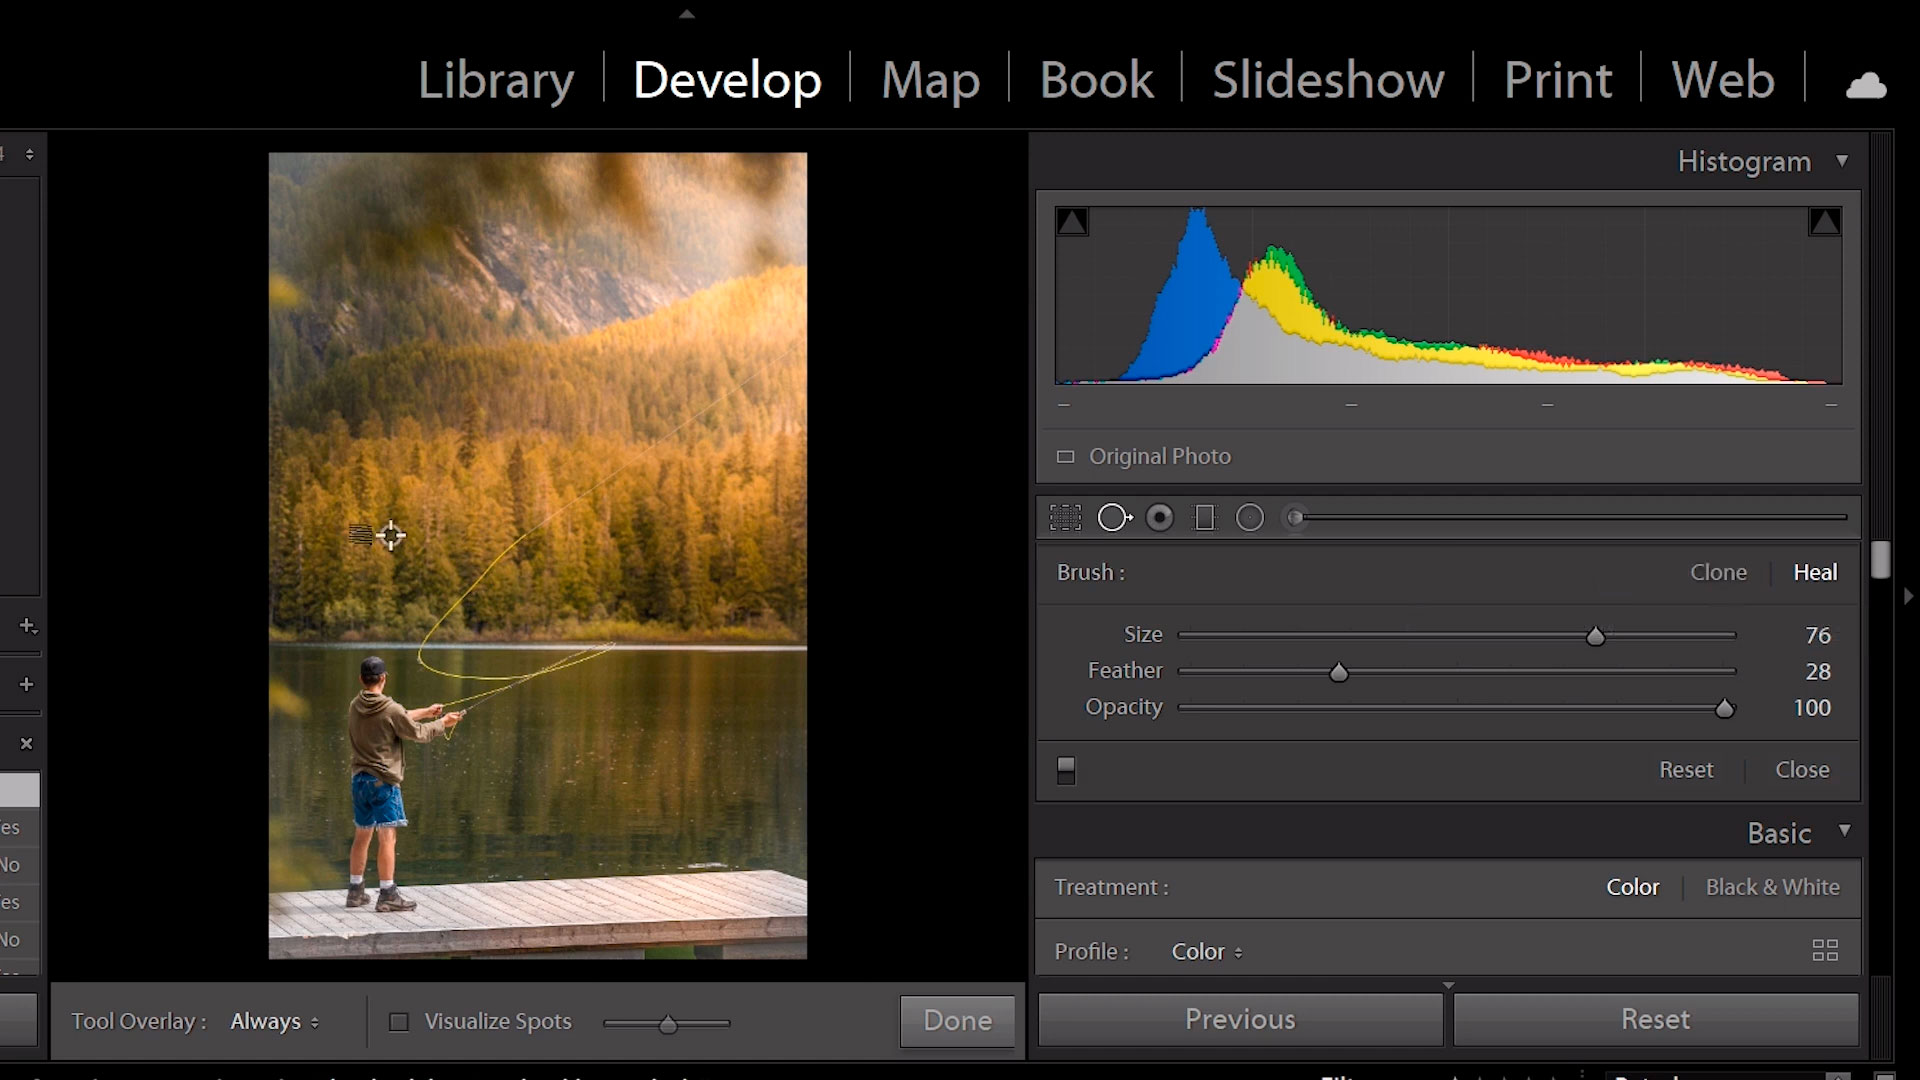
With the layer options, you can check and see what still needs to be removed and also make sure that your background is in tip top shape.
Cloning and Healing
If you are still having issues with clarity or your pixels not aligning, it’s time to use the Clone or Healing features (these are buttons available in the remove object main menu).
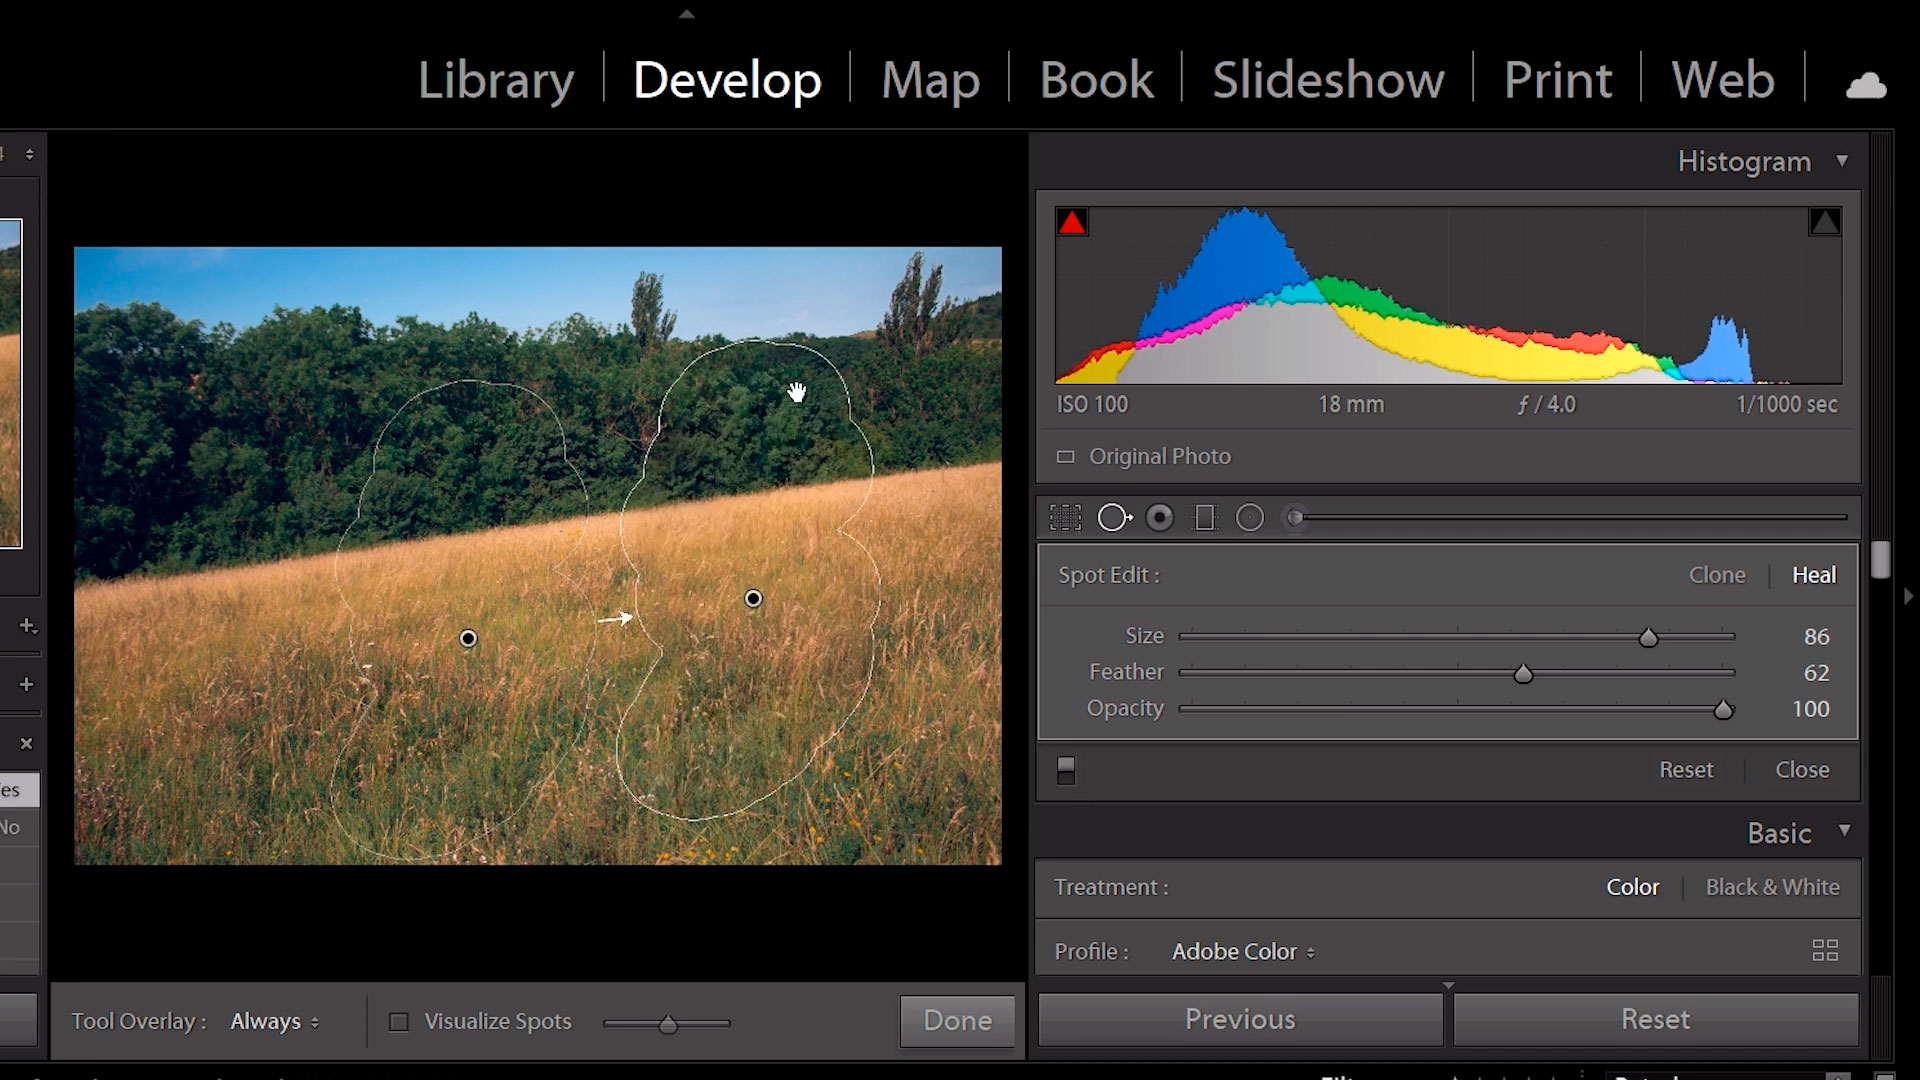
- Clone means that the pixels are exactly copied from the area that Lightroom chooses to mask the item.
- Healing is taking the chosen pixels and trying to blend them into the selected area to mask the removed area.
Cloning can be handy for repetitive images or patterns, while healing intensely blends the selected area with another part of the photo. Remember, this will take a little bit of work to make sure that the photo looks like you want it to.
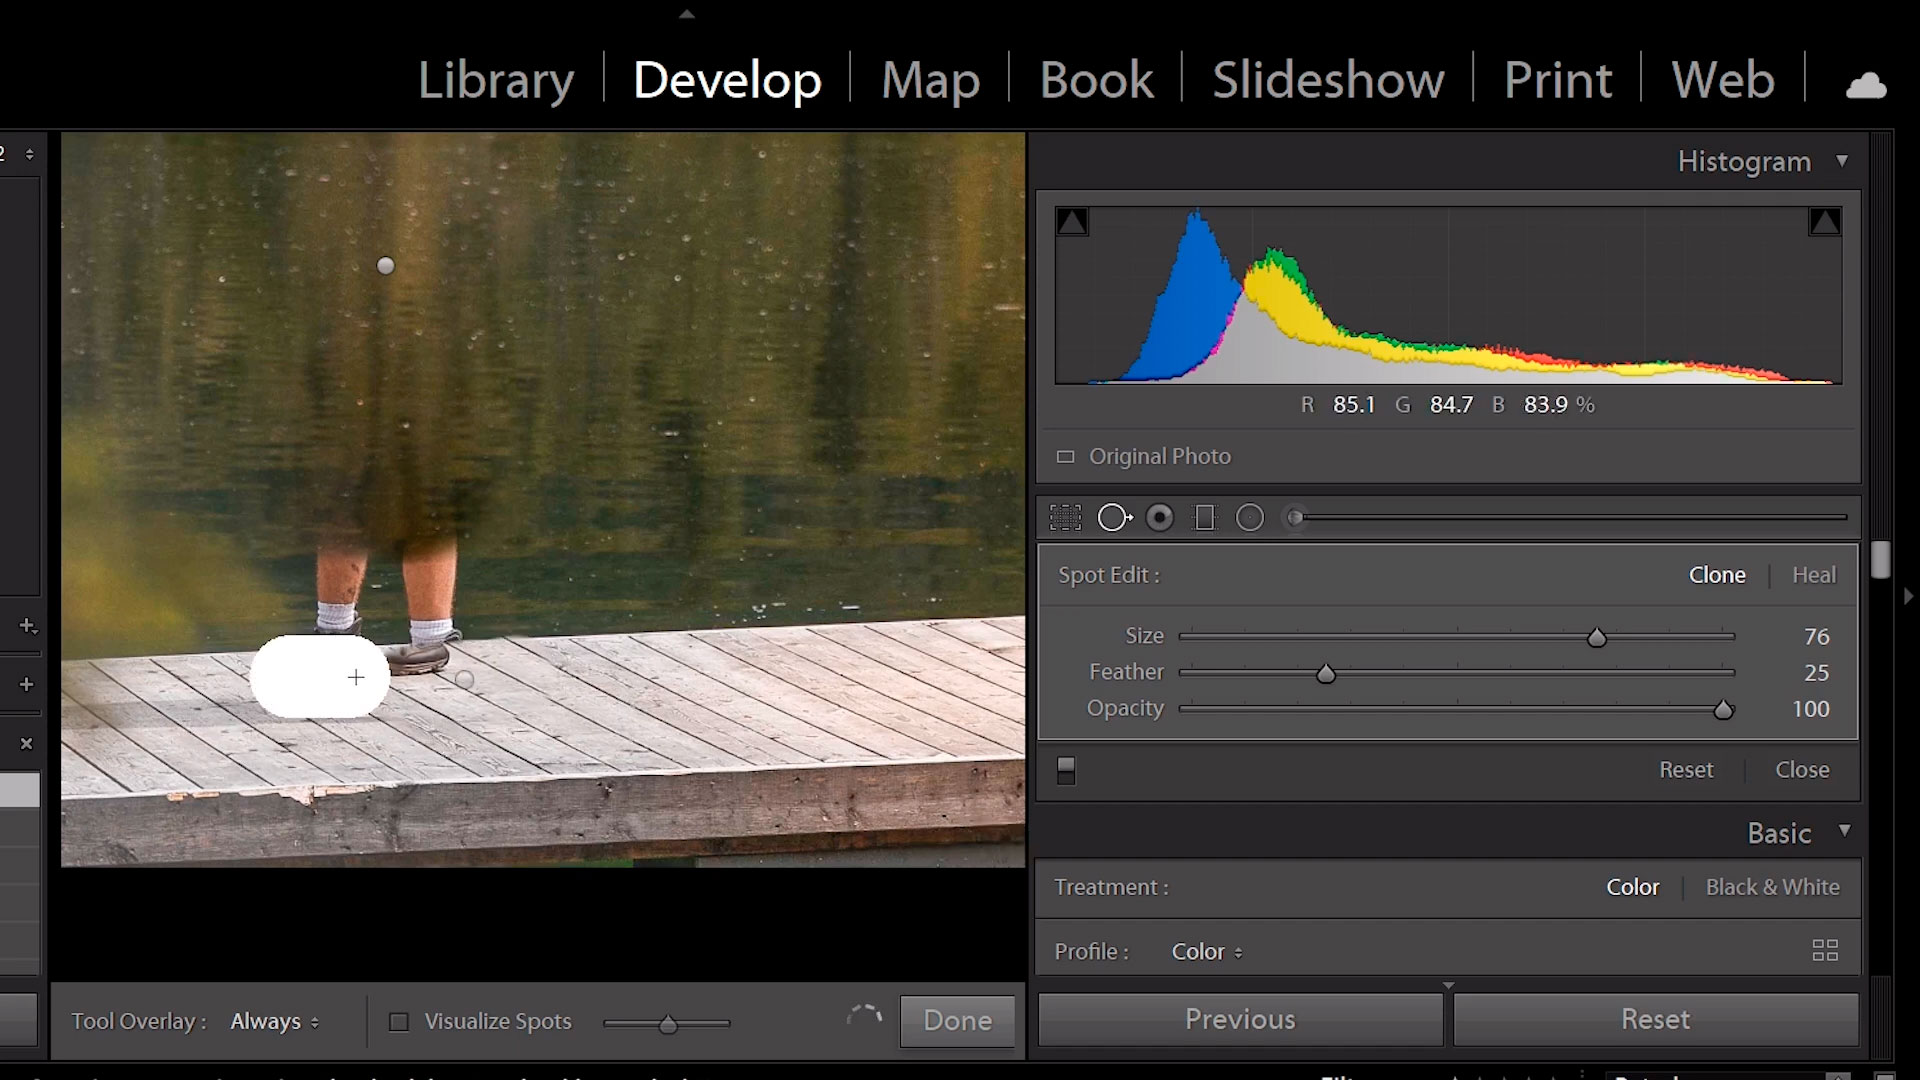
The program is friendly, quick to navigate, and helps you make the photos of your dreams. Zooming in lets you choose the perfect spot to remove, while cloning and healing help you make appearance decisions.
When you want to remove unwanted objects in Lightroom CC, follow this guide and you’re set!
